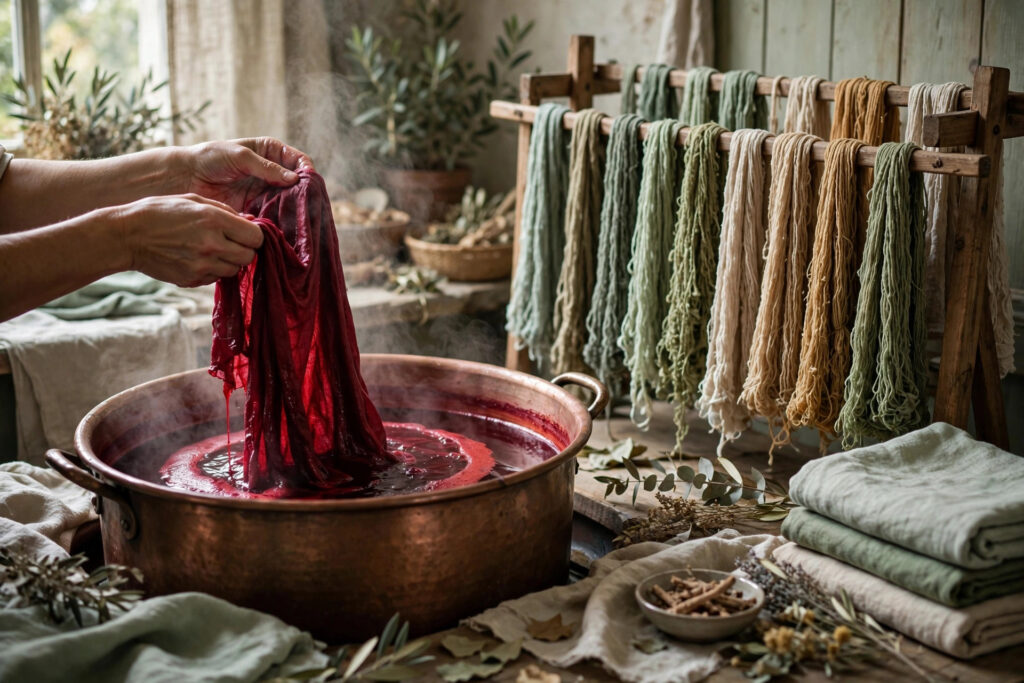
Botanical dyeing means coloring cloth with plants instead of factory-made dyes. You simmer leaves, roots, bark, or flowers in water, soak prepared fabric in the bath, and end up with colors no synthetic dye can quite copy — soft madder reds, dusty weld yellows, deep indigo blues. This guide walks you through your first dye pot from start to finish.
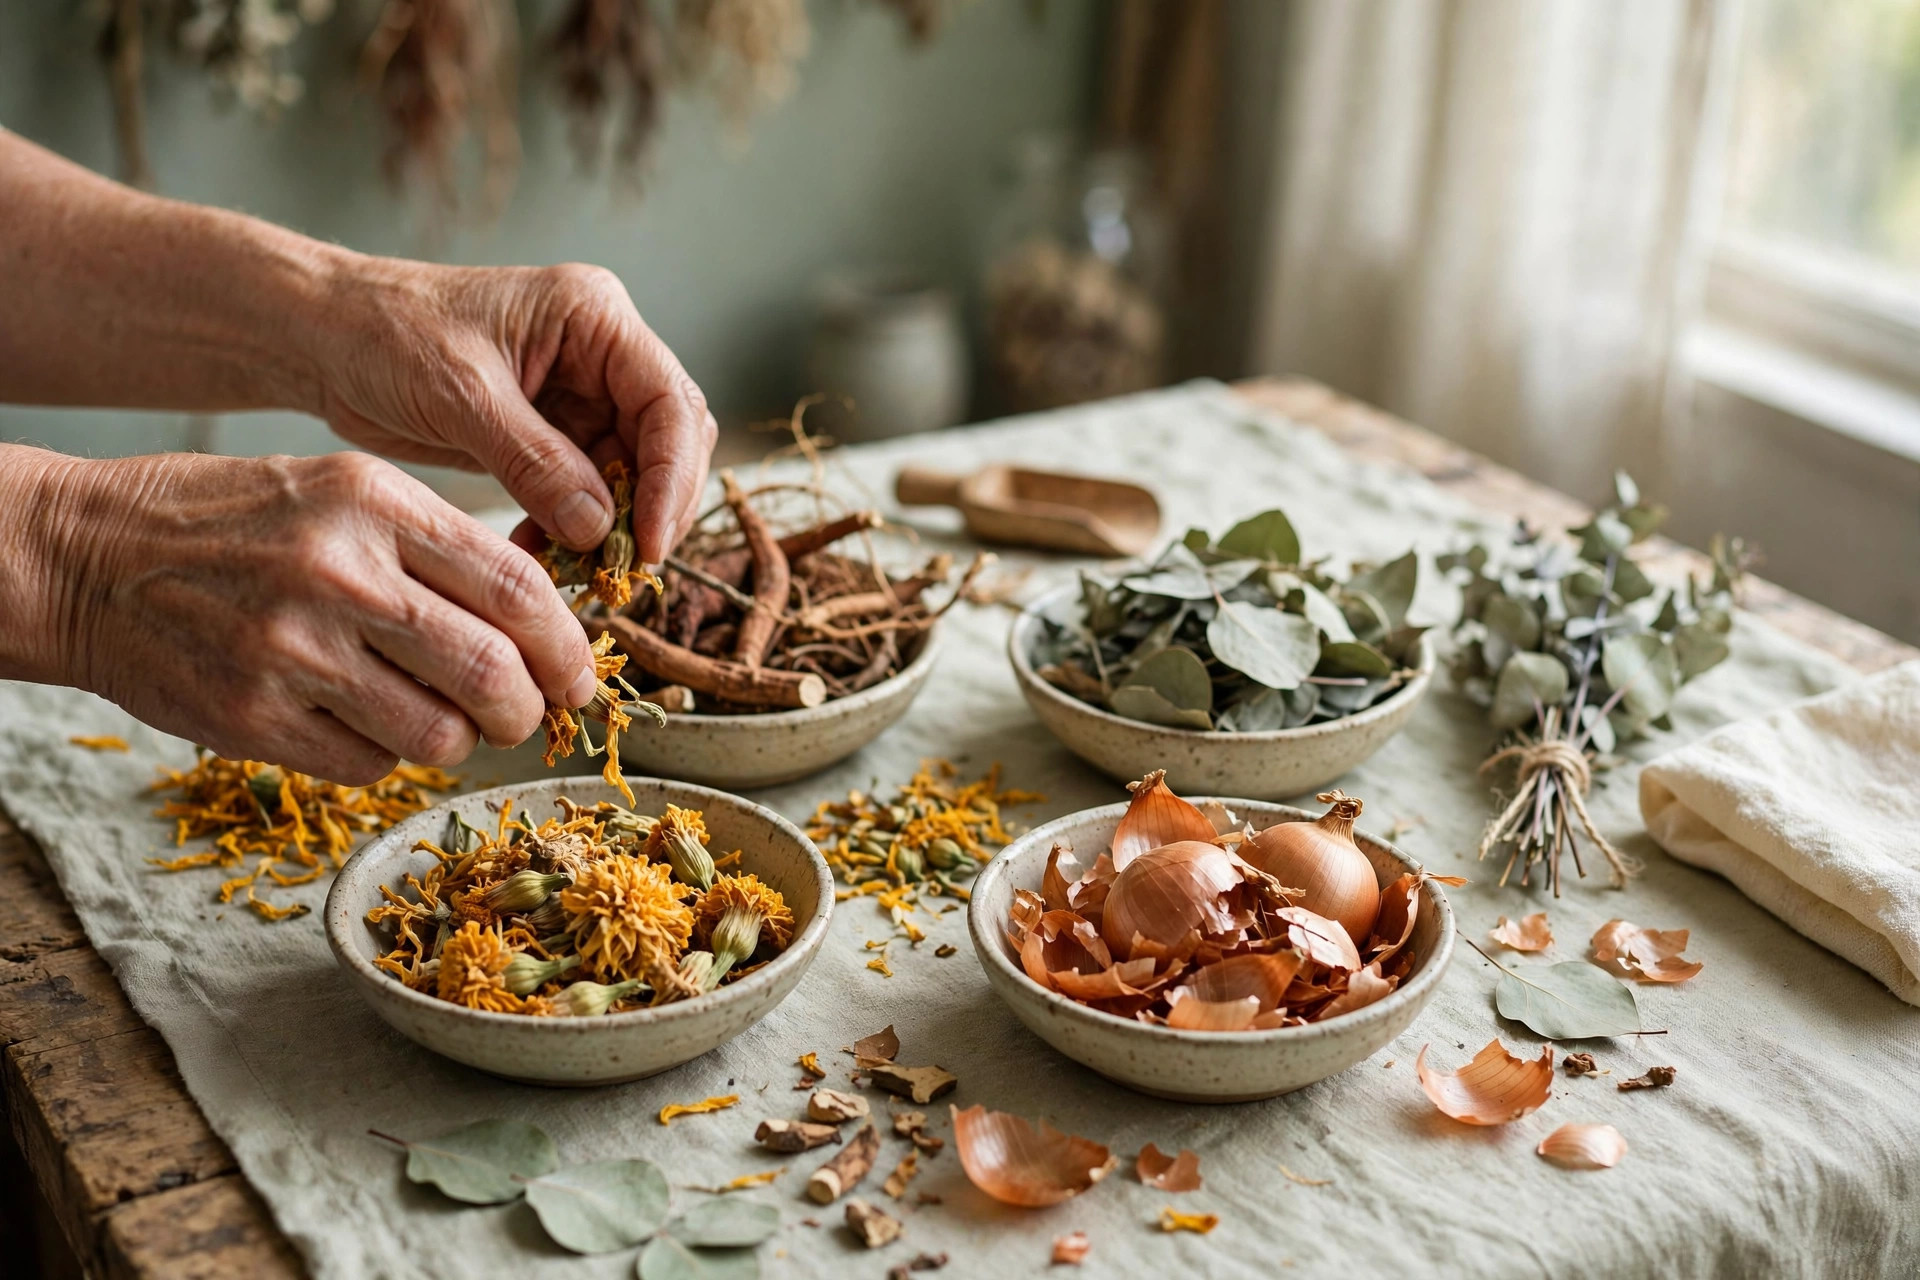
Why Plant Color Feels Different
Synthetic dyes give you perfect, repeatable color. Plant dyes give you something else: depth. A botanically dyed scarf holds three or four shades at once, depending on how the light hits it. Dyed with the same madder root twice, two pieces of cloth will come out like sisters, not twins.
That unpredictability is the point. Natural dyeing asks you to slow down and pay attention — to temperature, to timing, to the plants themselves. People who work with botanical dye tend to describe it less like chemistry and more like cooking. There is a recipe, but your hands matter.
It is also a practical craft. The plants you need are easy to find. Marigolds grow in any garden. Onion skins pile up in every kitchen. Madder root and weld can be bought dried from dye suppliers for a few dollars per 100 grams — enough to dye a scarf twice over.
What You Will Need
Keep your dye tools separate from your kitchen tools. Once a pot has held mordant or dye, retire it from cooking duty permanently.
- A dye pot — stainless steel or unchipped enamel, large enough that fabric moves freely (a 10-litre stockpot works for about 200 grams of cloth).
- A kitchen scale — everything in dyeing is measured by weight, including the fabric.
- Mordant — alum (potassium aluminum sulfate) for starters; iron for darkening.
- Dye material — marigold flowers, onion skins, madder root, or eucalyptus leaves.
- Stirring spoon, thermometer, rubber gloves, and a dust mask — for handling powders.
Step 1: Prepare the Fibre (Mordanting)
Here is the one step beginners skip and every expert insists on. A mordant is a mineral that bonds the dye to the fibre. Without it, most plant colors wash out in a few rinses. With it, they can last for years. Weigh your dry fabric first — every measurement in dyeing is a percentage of this number, called weight of fibre (WOF).
For wool and silk, alum is the classic choice. Use 10–12% WOF: for 100 grams of fabric, that is 10–12 grams of alum, plus an optional 5–6% cream of tartar to keep wool soft and brighten the color. Dissolve in warm water, add your pre-wetted fabric, and bring the pot slowly to a simmer (around 80°C). Hold for one hour, then let everything cool in the pot.
Cellulose fibres — cotton, linen, hemp — are thirstier. Alum alone does not grip them well. First give them a tannin bath (about 8% WOF, from oak galls or a tannin extract), then an alum bath at 15–20% WOF, sometimes followed by a short soak in chalk water to fix it. It sounds fussy. It takes an afternoon. The payoff is real colorfastness on plant fibres.
Iron (ferrous sulfate) is the second mordant worth knowing. Used at 2–6% WOF it darkens everything it touches; used sparingly at 1–3% in an after-bath it shifts colors toward charcoal, olive, and deep brown. A little goes a long way — too much iron makes cloth brittle over time.
| Mordant | Protein fibre (wool, silk) | Cellulose fibre (cotton, linen) |
|---|---|---|
| Alum | 10–12% WOF | 15–20% WOF, after tannin at 8% WOF |
| Cream of tartar | 5–6% WOF (optional) | Not needed |
| Iron | 2–6% WOF (darkens) | 2–6% WOF (darkens) |
Step 2: Build the Dye Bath
Start with a plant you can identify without guessing. Marigold heads give a clear golden yellow. Yellow onion skins give rich amber and gold. Madder root, soaked overnight and simmered gently, gives reds from terracotta to deep rust. Eucalyptus leaves on silk give gorgeous rusty oranges.
Cover your dye material with water and simmer — never boil — for one to two hours. Boiling toughens colour and can damage delicate flowers. Strain the liquid through an old pillowcase or muslin so no plant bits cling to your cloth. This is your dye bath.
How much plant do you need? A good starting rule is 100% WOF: for 100 grams of fabric, use 100 grams of dye material. Roots and bark can go lower (50–75% WOF still gives strong color); flowers and leaves often want the full amount. When in doubt, use more. A weak first bath is the most common beginner disappointment.
A Field Guide to Dye Plants
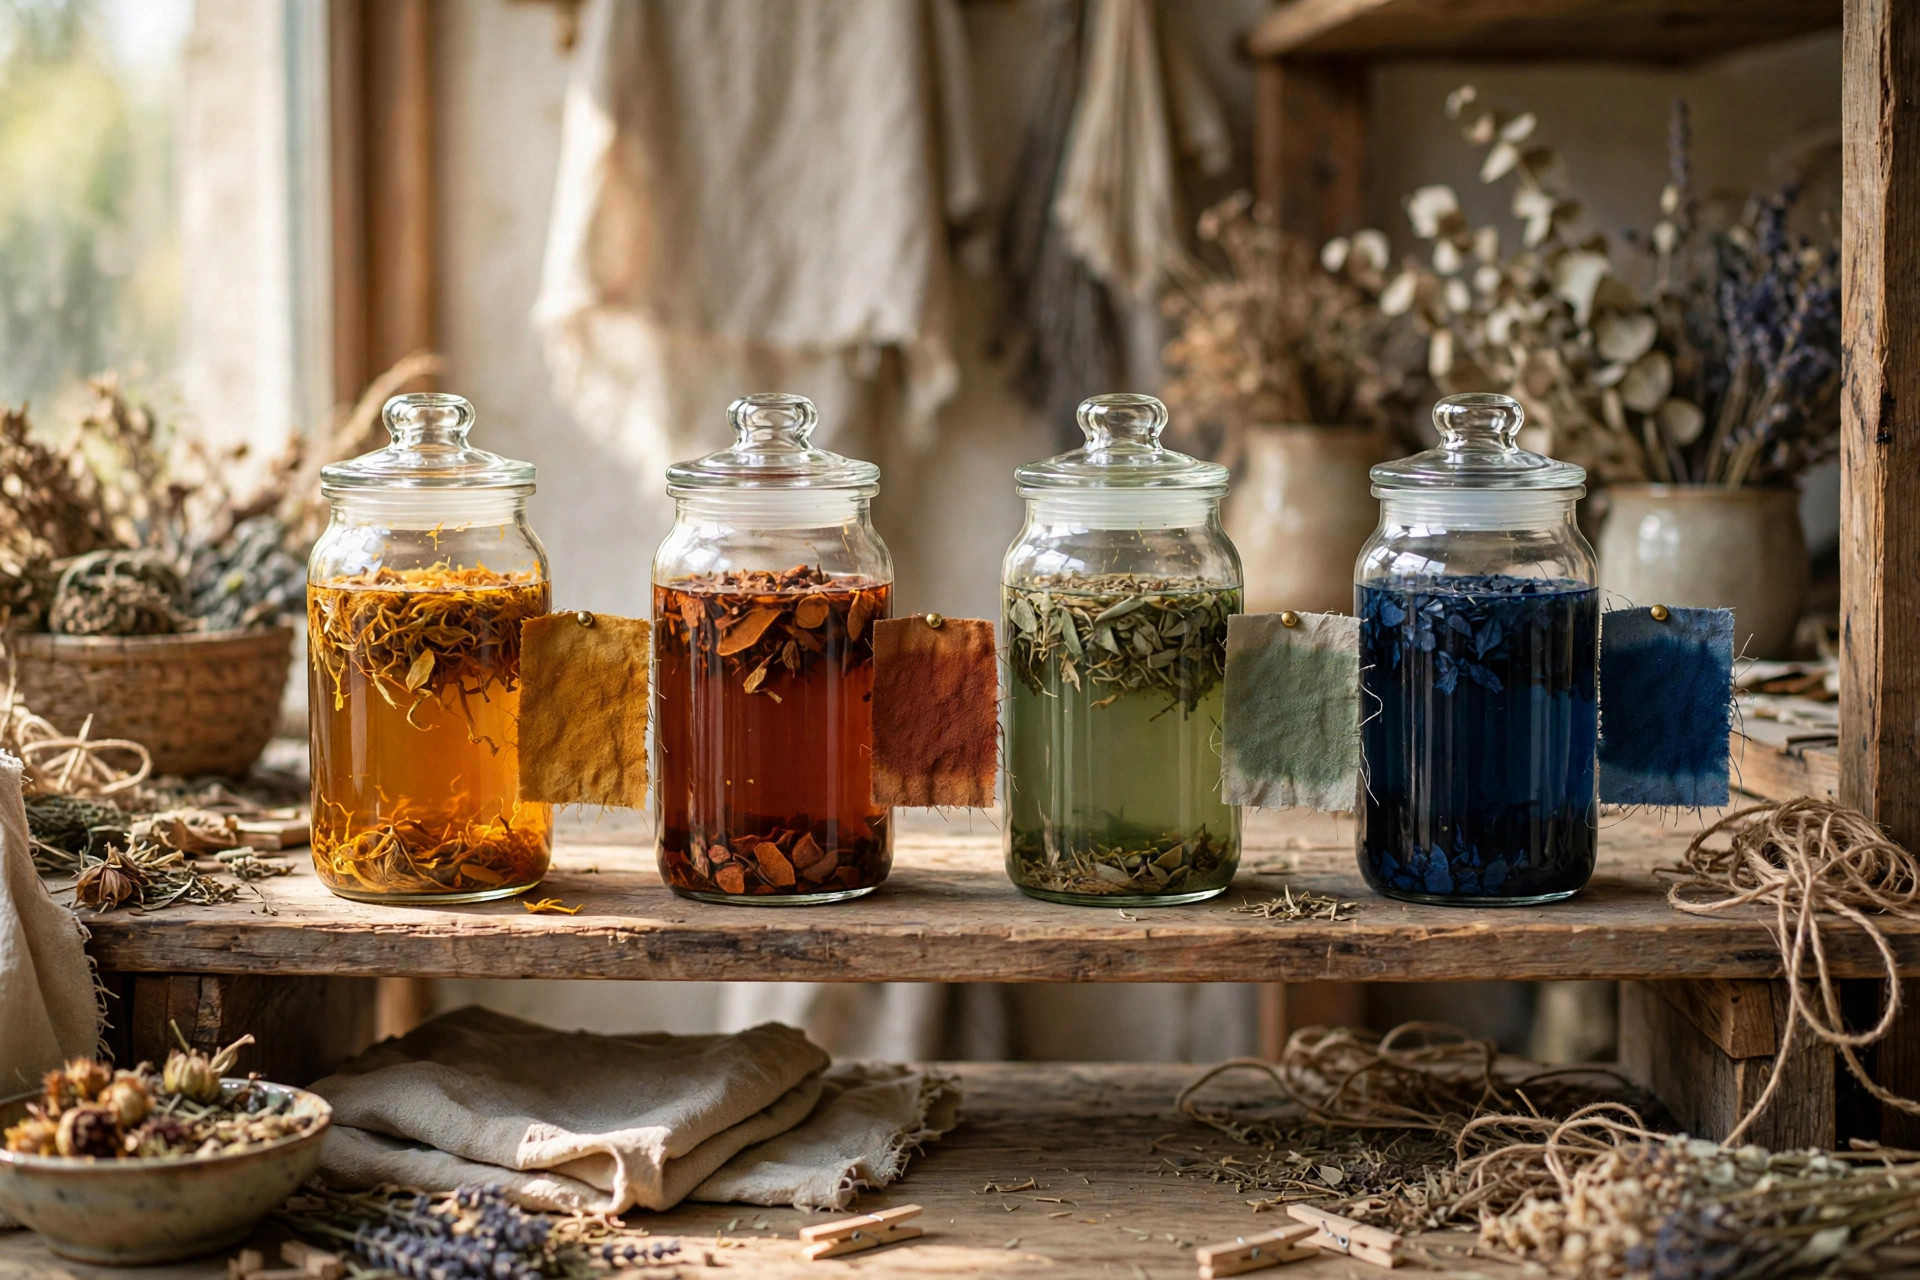
Five plants will carry you through your first year of dyeing. Each behaves differently, and learning their personalities is half the craft.
| Plant | Colour on alum-mordanted wool | Notes |
|---|---|---|
| Madder root (Rubia tinctorum) | Red, rust, terracotta | Soak roots overnight; keep the bath below 80°C or reds turn brown. Turkey red was madder’s industrial-era fame. |
| Weld (Reseda luteola) | Clear, bright yellow | The most lightfast yellow in the plant kingdom. Historically prized over marigold for permanence. |
| Marigold (Tagetes) | Golden yellow to olive | Deadhead spent blooms all summer and dry them; a gardenful dyes several scarves. |
| Eucalyptus leaves | Rust orange, grey-green | Works beautifully on silk without mordant. Different species give wildly different colors — experiment. |
| Indigo (Indigofera / woad) | Blue | No mordant needed. The magic trick of dyeing: cloth leaves the vat green-yellow and turns blue in the air. |
Indigo deserves a note of its own, because it breaks every rule above. Indigo dye is not water-soluble, so you build a vat — a reduced, alkaline bath — instead of a simmered one. The simplest beginner vat uses Michel Garcia’s 1-2-3 recipe: 1 part fructose, 2 parts indigo powder, 3 parts pickling lime, stirred into warm water. Dip, wait, and watch green cloth oxidize to blue in front of your eyes. It never gets old.
Step 3: Dye, Rinse, and Care
Wet your mordanted fabric thoroughly — dry spots take dye unevenly — and lower it into the warm dye bath. Simmer gently for one to two hours, turning the cloth every ten minutes so the color builds evenly. Then turn off the heat and leave the whole pot overnight. That long rest deepens color more than any amount of extra simmering.
Rinse in cool water until it runs mostly clear. A little color in the first rinse is normal; a flood of it means your mordanting was thin. Wash finished pieces by hand in cool water with pH-neutral soap. Plant-dyed cloth fades fastest in harsh sun and alkaline detergents — treat it like you would a good sweater, and the color will outlast the garment’s fashion relevance.
Troubleshooting Your First Pots
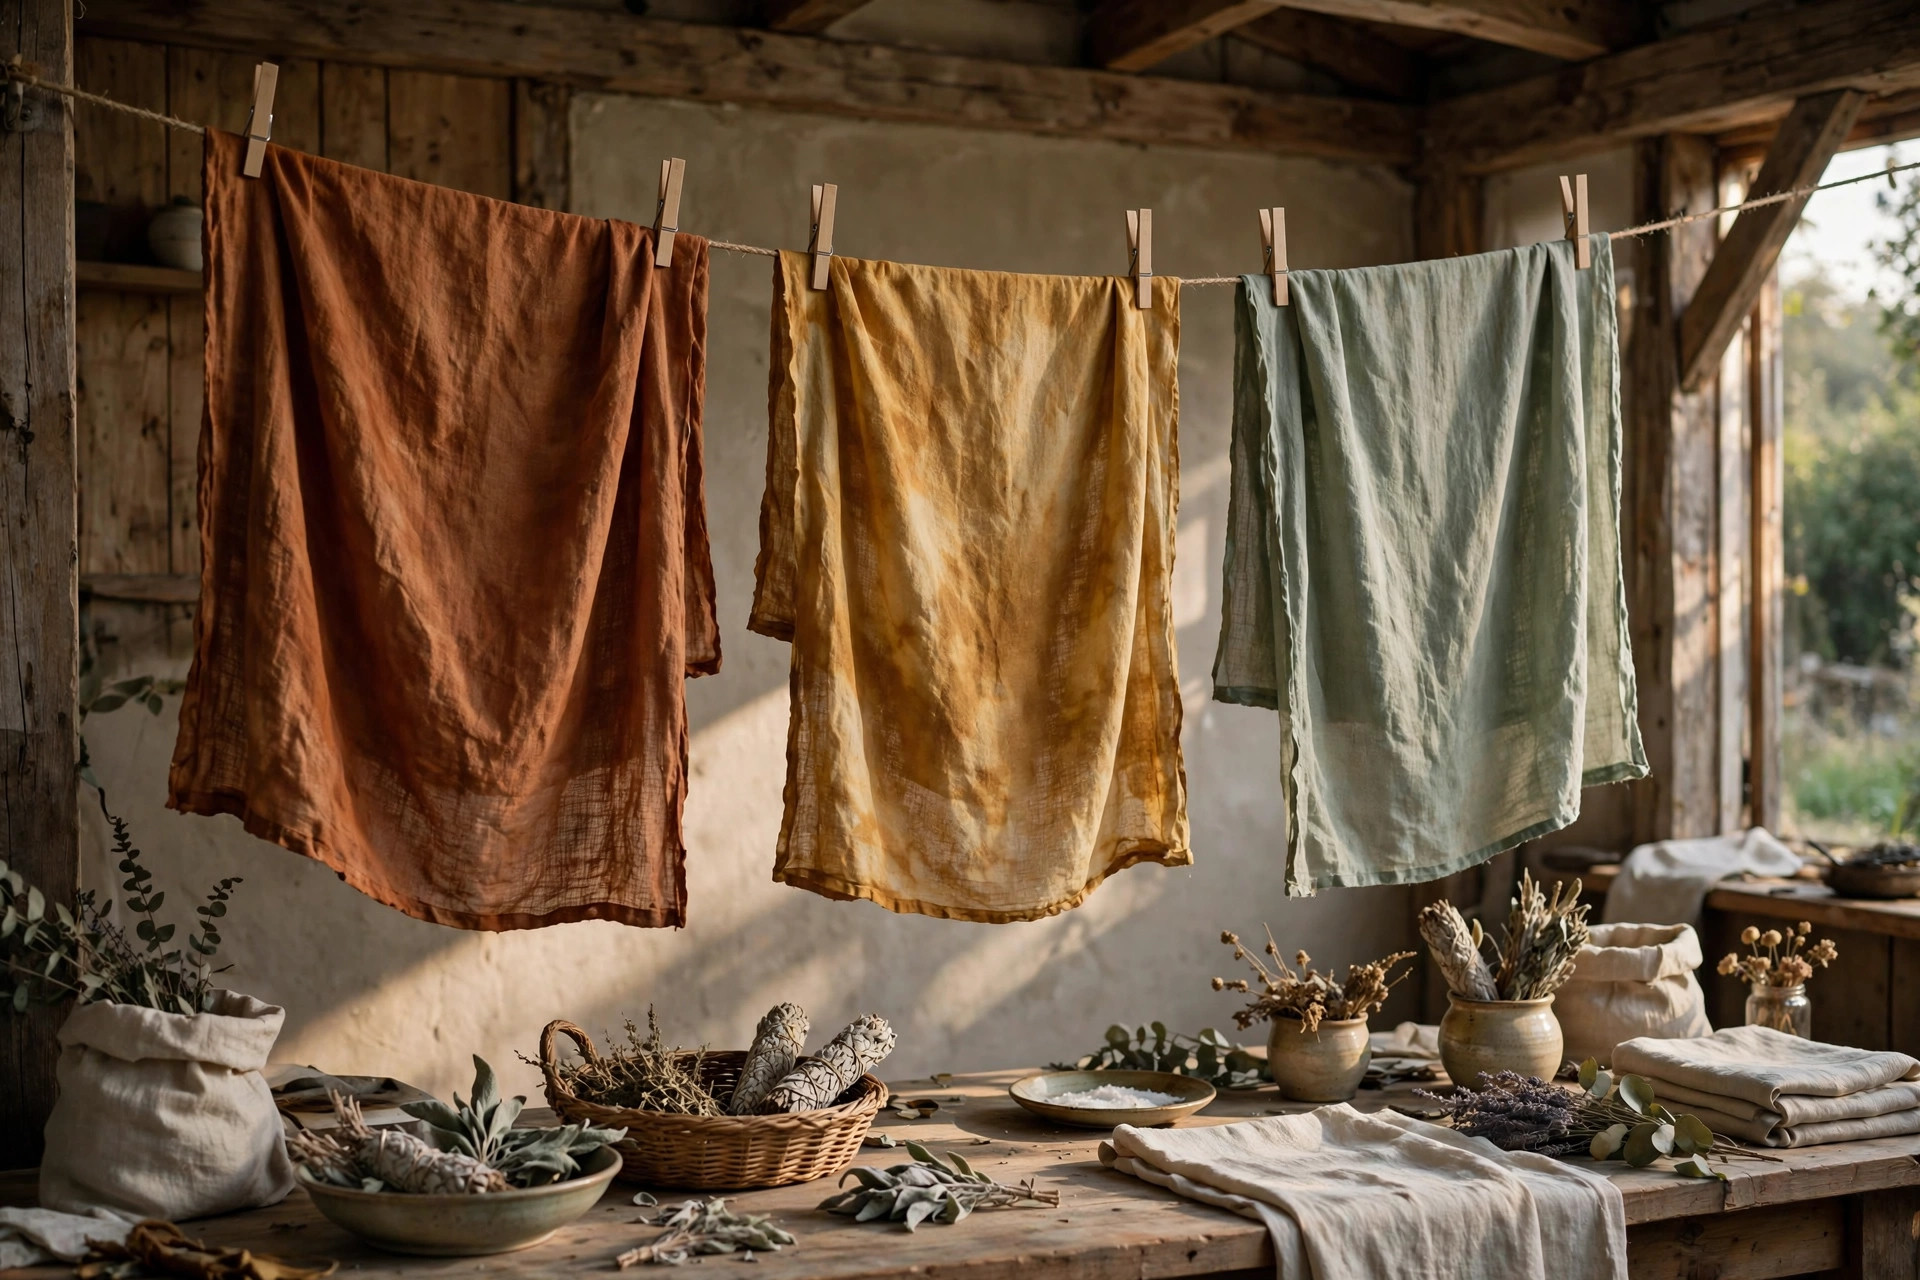
Every dyer’s first batch has a flaw. Here are the usual suspects.
Patchy color: the fabric went in dry, or it was crowded in the pot. Fabric needs room to move and must be fully wet before it meets the dye. A pot that holds the cloth with space to spare is worth more than any exotic dyestuff.
Color washes out: the mordant step was too weak or skipped. Go back and weigh your chemicals — eyeballing mordant is the fastest route to disappointment. Cellulose fibres are the usual victims here; remember they need the tannin-plus-alum routine.
Dull, muddy tones: the bath boiled, or iron crept in where it wasn’t wanted. Iron darkens everything; even rusty water or an iron pot can sadden your yellows. Dye in stainless steel, keep the heat gentle, and reserve iron for deliberate color shifts.
Frequently Asked Questions
Is botanical dyeing safe to do in a home kitchen?
Yes, with sensible precautions. Keep dye equipment separate from cookware, wear a dust mask when handling powders like alum and iron, and work with ventilation. Alum and tannin rinse safely down the drain; iron and copper baths should be used up or diluted rather than poured on the garden.
How long do plant-dyed colors last?
On properly mordanted fibre, years of regular wear. Indigo and madder are famous for outlasting the cloth itself — think of vintage denim and antique Turkish carpets. Yellows from marigold fade faster in direct sun, which is why weld, the most lightfast yellow, was the historical dyer’s favorite.
Can I dye cellulose fibres like cotton and linen, or only wool and silk?
You can dye both, but cellulose needs extra preparation. Wool and silk take alum directly at 10–12% WOF. Cotton and linen need a tannin bath first (about 8% WOF) followed by alum at 15–20% WOF. Skip the tannin step and your colors will look fine on day one and wash out by day ten.
What is the cheapest way to start?
Onion skins cost nothing — save them from the kitchen until you have 100 grams, roughly the papery skins of 15–20 onions. Pair them with alum from a dye supplier and a thrifted stainless stockpot, and your first dye pot costs less than a takeaway dinner. A 100-gram bag of dried madder root, enough for two scarves, typically costs under ten dollars.
Do I need a mordant for indigo?
No. Indigo is the exception: it bonds mechanically as it oxidizes on the fibre, so no mordant is required on any fibre type. This makes indigo an unusually forgiving first project — a simple fructose vat will dye cotton, linen, wool, and silk alike.
Your First Dye Day
Pick one fibre, one plant, one mordant. Onion skins on alum-mordanted wool is the classic first pot for a reason: the color is generous, the process forgives small mistakes, and you will have something beautiful by dinner. Weigh everything, write everything down, and keep your first swatch. A year from now, when your shelf holds jars of rust and indigo and your hands know the weight of wet linen, you will want to see where it started.
This article was created with AI assistance and reviewed by our editorial team before publishing.