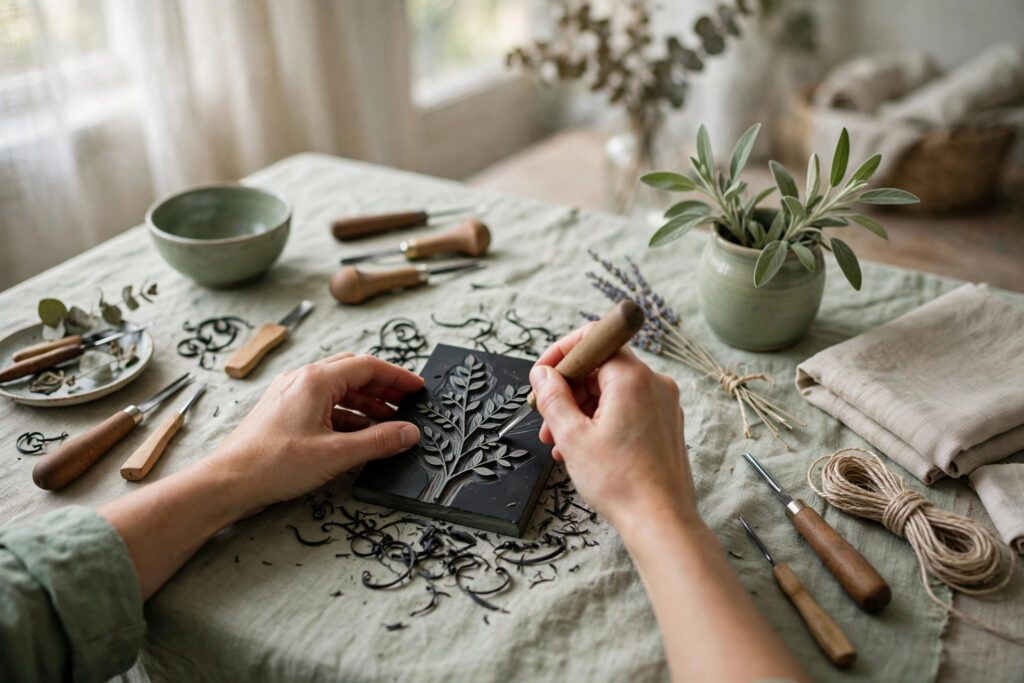
Block printing on fabric needs only a carved block, fabric paint, and a plain piece of cloth. You design a small motif, carve it in mirror image, ink the block, and press it onto fabric in a repeating pattern — and by the end of one afternoon, a blank tea towel carries a print that exists nowhere else.
There’s a particular quiet to it. No machine hum. No screen. Just the soft thump of a block meeting cloth, over and over, while a pattern slowly covers the fabric in front of you. Printers in India have worked this way for centuries, producing some of the most loved patterned cloth in the world with carved wooden blocks and patient hands.
Your first print won’t look like theirs. Good. It isn’t supposed to. It’s supposed to teach your hands how ink, pressure, and cloth behave together — and that lesson takes one block, one colour, and one afternoon.
What you actually need
Resist the urge to buy a cartful of supplies. Block printing rewards a short list, well chosen.
- A block. Soft-cut lino or a rubber carving block is kindest for beginners — it cuts like firm butter and forgives wobbly lines. Traditional wood blocks are beautiful but harder to carve; save them for later.
- Carving tools. A basic set of lino gouges in a few widths. The V-gouge draws lines, the U-gouge clears the background.
- Fabric paint or printing ink. Choose paint made for fabric, which stays flexible after drying and can be heat-set with an iron so the print survives washing.
- Plain fabric. Smooth, tightly woven cotton or linen shows a print best. Start with something cheap and flat: a tea towel, a tote bag, a pillowcase.
- The small stuff. A foam roller or a flat sponge for inking, a palette or old plate, scrap paper for test prints, and a padded surface — a folded towel under your fabric works.
Design a motif that forgives
Your first motif should be bold and simple: a leaf, a pear, a little fish, a sprig of three dots and a stem. Fine lines and tiny detail punish beginners twice — once in the carving, once in the printing, where thin lines fill with ink and blur.
Draw the motif on paper first, at the size you want it to print. Somewhere between a coin and a playing card is a friendly scale for a first block. Then remember the one rule that catches everyone:
The block prints in mirror image. Whatever you carve will print reversed. For leaves and dots, nobody will ever know. For letters, numbers, or anything that faces a direction, draw it backwards on the block — or draw it forwards on paper, then transfer it face-down so the transfer does the reversing for you.
Carving: slow hands, shallow cuts
Transfer your drawing onto the block with pencil or carbon paper. Then carve away everything that is not your motif. The raised surface is what takes the ink and prints; everything you cut away stays the colour of the cloth.
Work with the gouge pointing away from you, always. Cut shallow at first — you can deepen a line, but you can’t put material back. Clear the background well around the motif, because any raised scrap near the design will catch ink and leave ghost marks on the cloth. Printers call those stray marks a nuisance with a fond name in many studios, but on your tea towel they’ll just look like mistakes.
Carve a small registration nick or dot at one edge of the block, too. It sounds fussy. It isn’t. That little mark tells you which way is up when you’re printing a repeat and the block is covered in ink.
Inking and the first print
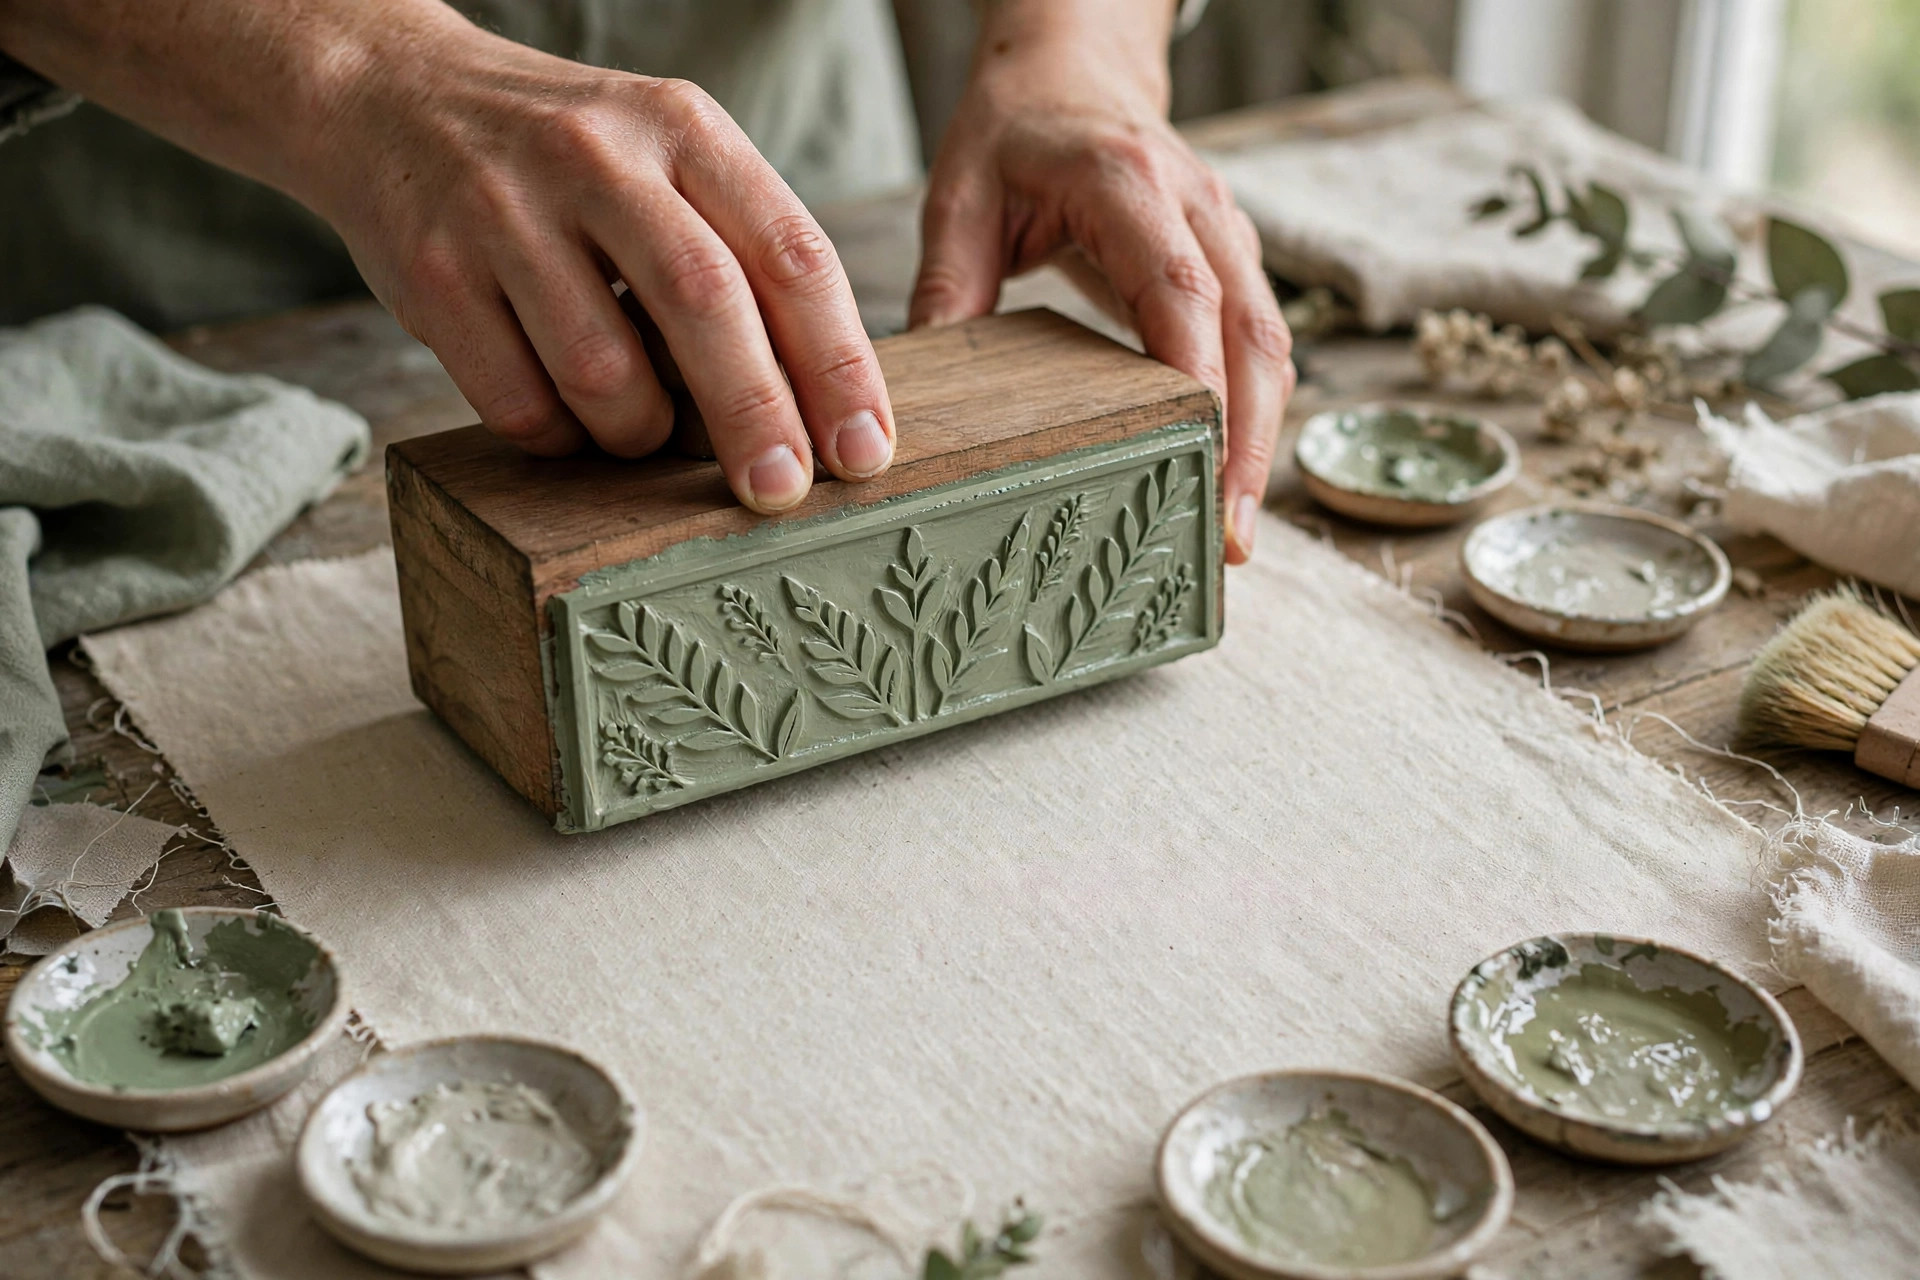
Squeeze out a small blob of fabric paint and roll it until it sounds faintly tacky — printers describe the right consistency as the sound of Velcro pulling apart, and once you hear it, you’ll know it forever. Roll a thin, even coat onto the block. Too little ink gives a pale, patchy print. Too much floods the carved lines and turns your leaf into a blob.
Now the moment of truth, on scrap paper first. Always scrap first.
- Lay the block ink-side down on the paper. Commit — no sliding it around.
- Press firmly and evenly across the whole back of the block. Rock it very slightly, corner to corner.
- Lift straight up, one clean motion. Peeking halfway and re-pressing is how double images are born.
- Read the print. Pale in the middle? Press harder there next time. Blurry edges? Less ink. Missing corner? Your padding underneath isn’t level.
Two or three test prints will teach you more than an hour of reading. Once the scrap print looks clean, you’re ready for cloth.
Printing a repeat without losing your mind
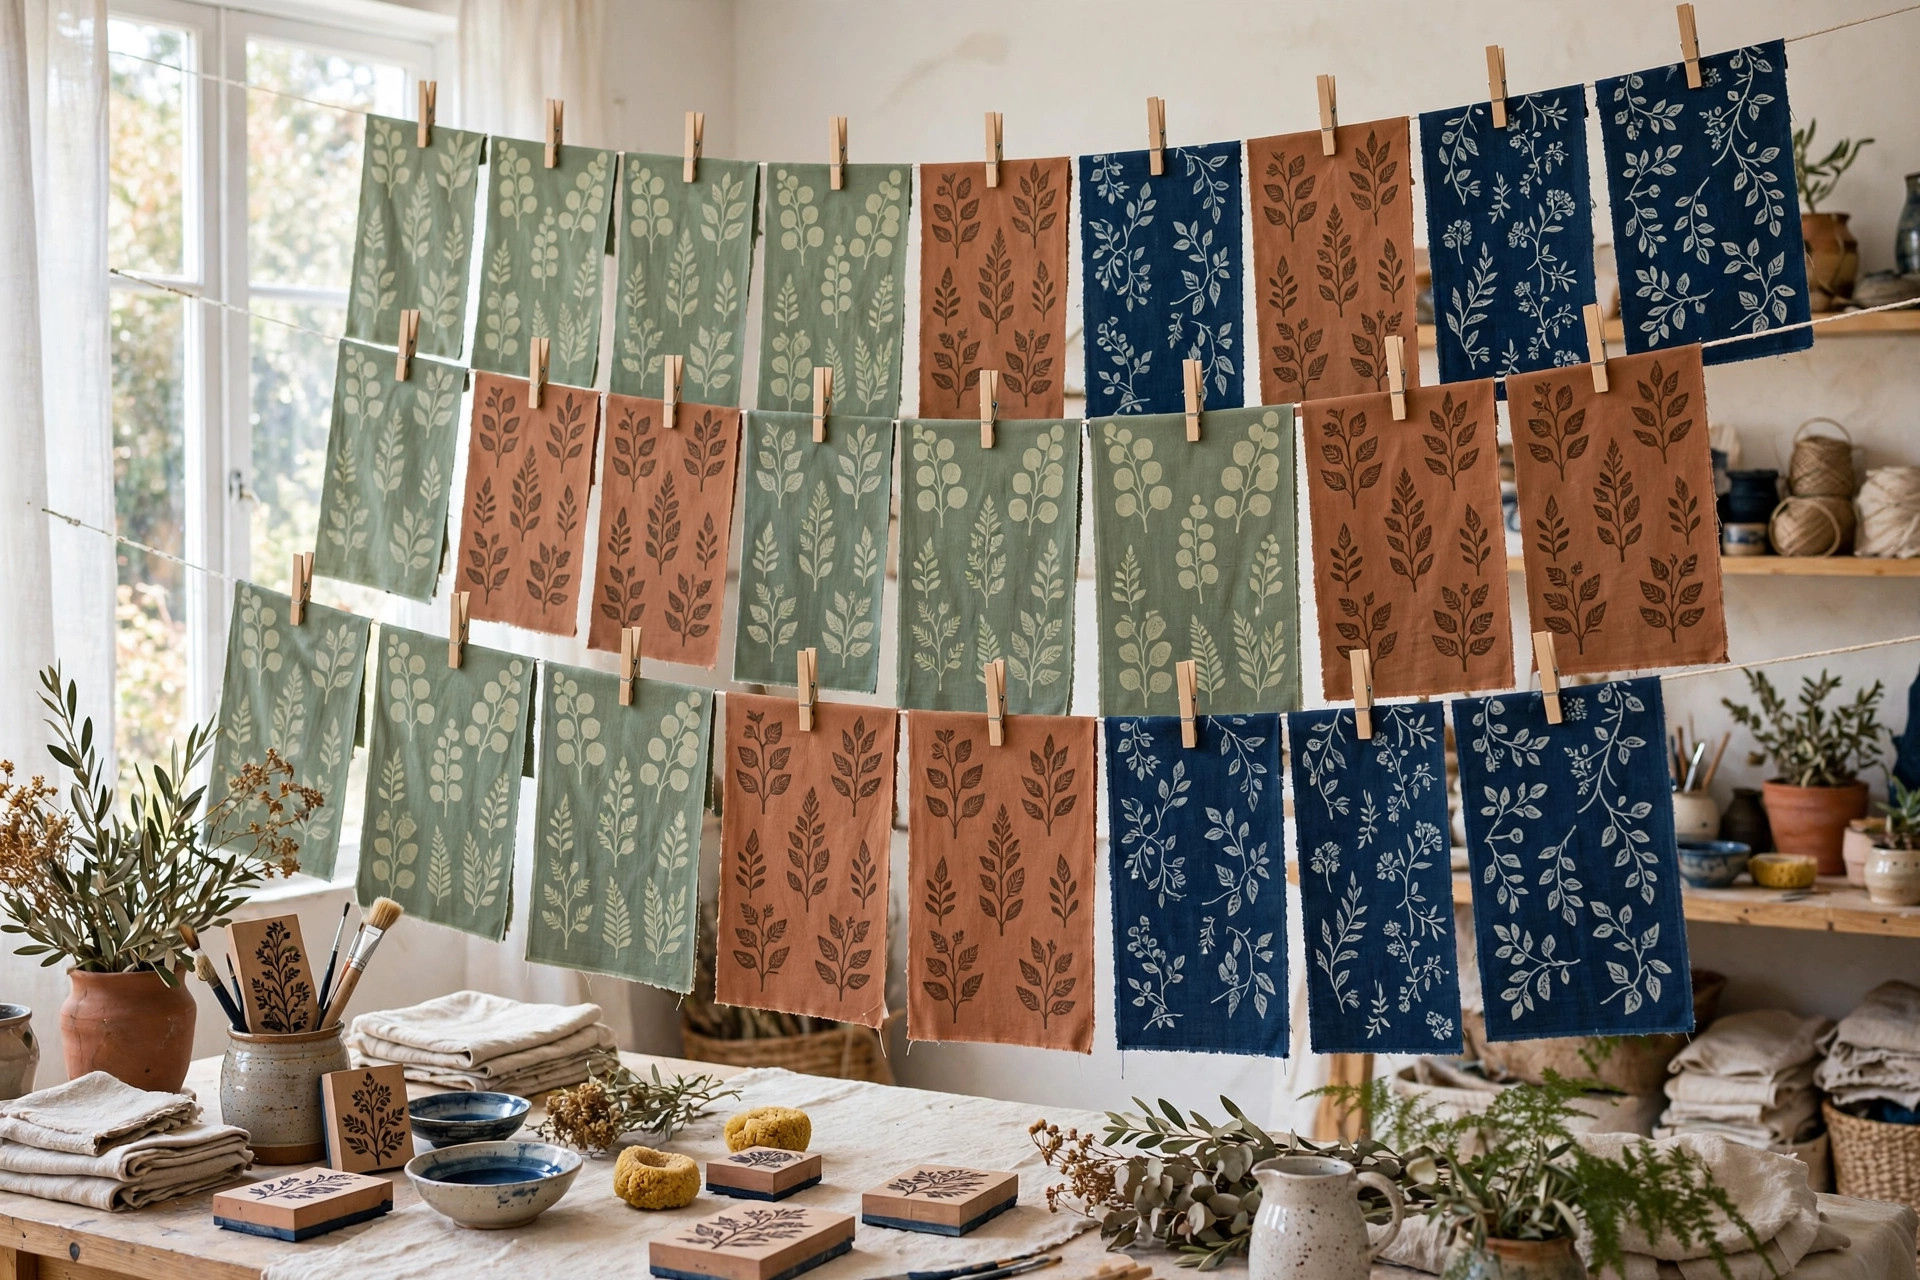
A single motif is a stamp. A repeat is printing. Decide on your layout before the first press: rows lined up straight, rows offset like bricks, or a loose scatter. Straight rows suit tea towels and table runners. The offset — called a half-drop repeat — is kinder to beginners because small misalignments hide in the stagger instead of lining up to be judged.
Mark light pencil guidelines on the cloth, or use the weave of the fabric itself as your ruler. Work from one corner, re-ink the block for every single print, and don’t chase perfection. Hand printing carries tiny variations in ink and pressure from square to square, and that gentle unevenness is the whole point. It’s the difference between cloth printed by a person and cloth printed by a factory. One of them has a pulse.
Washing, setting, and keeping the print
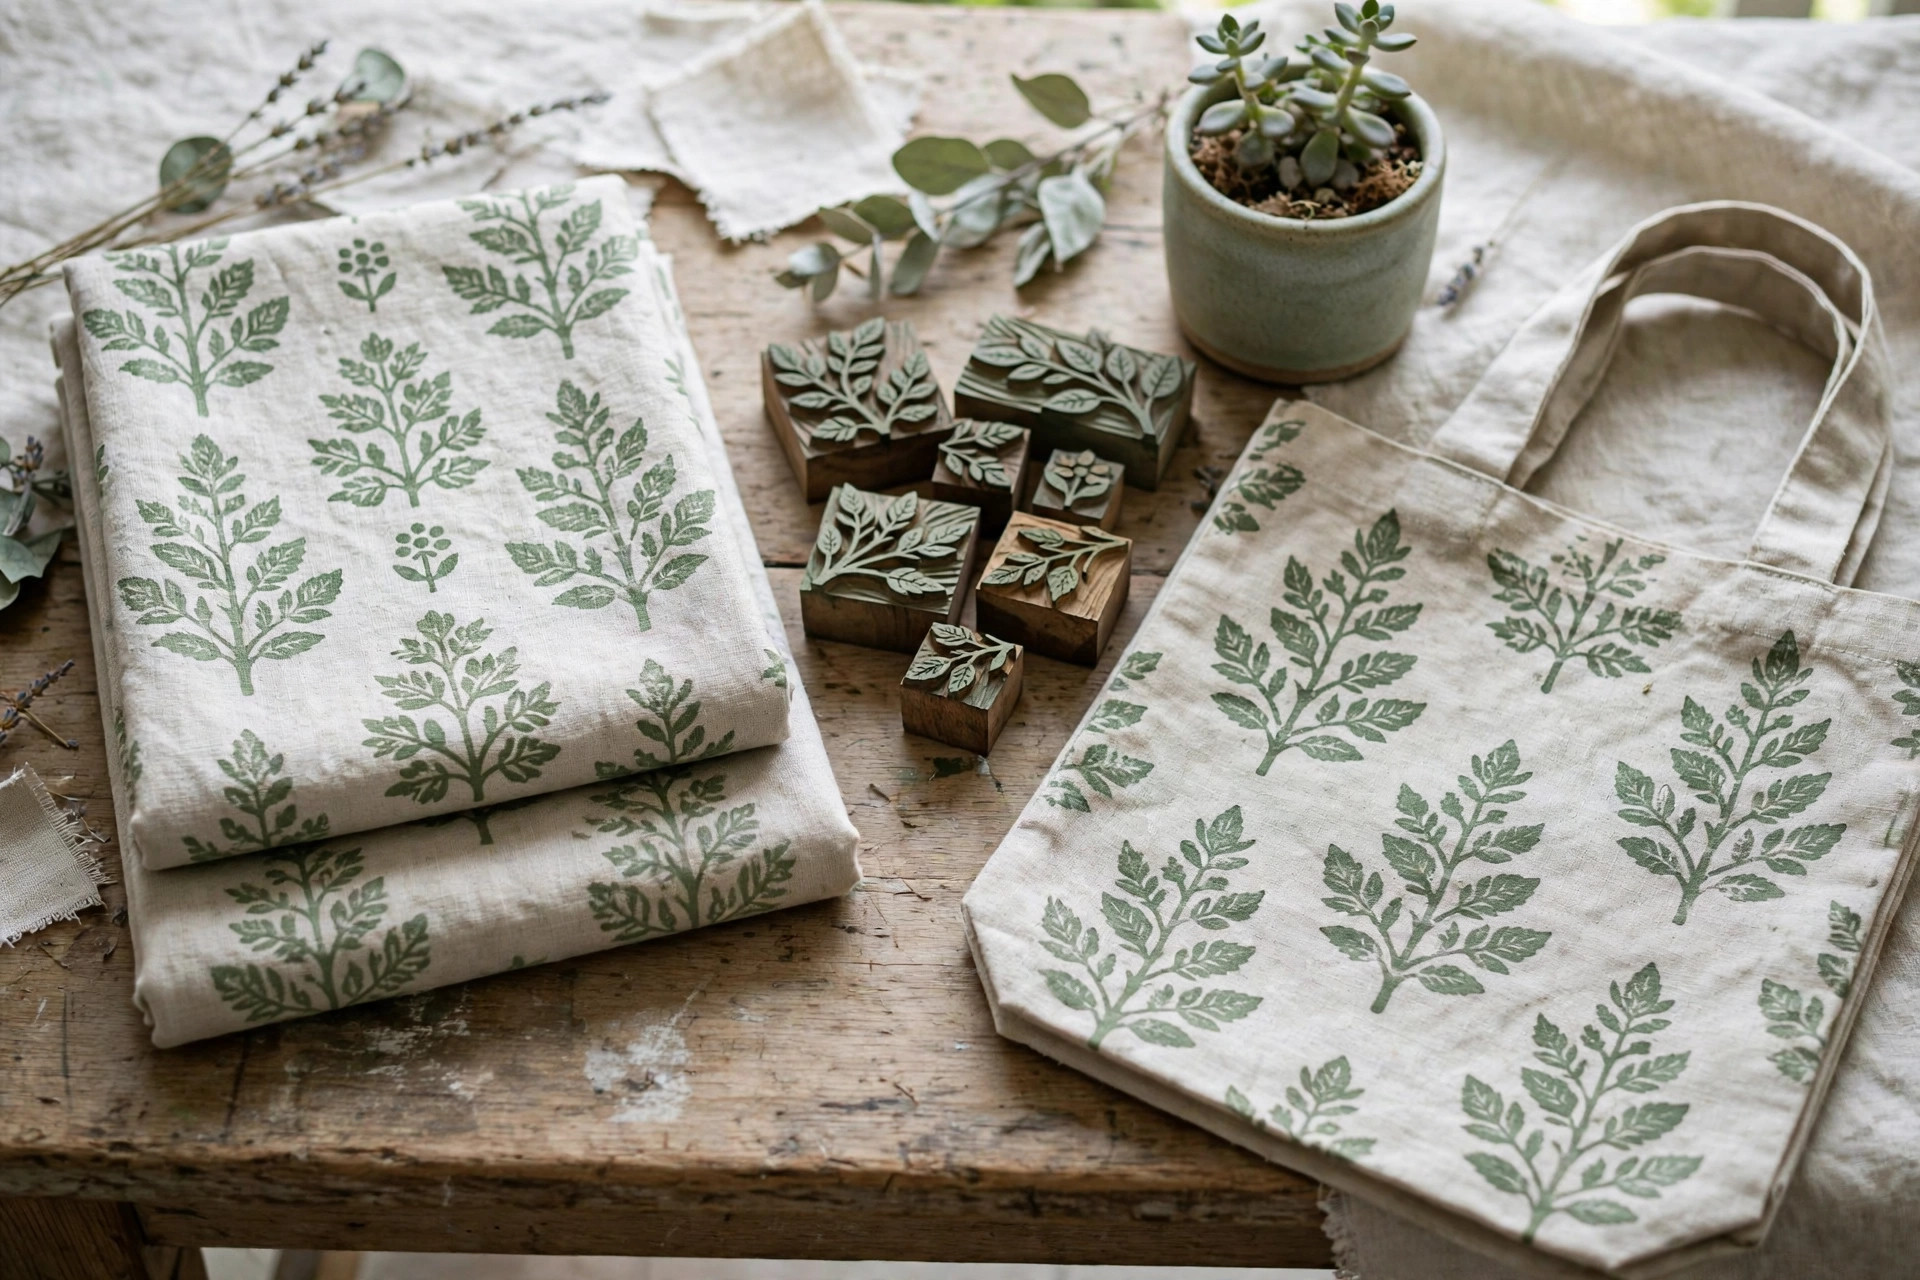
Let the finished piece dry fully — overnight is safest, whatever the paint tube promises. Most fabric paints then need heat-setting: a hot iron over the print, usually with a cloth between iron and fabric, which bonds the paint so it survives the wash. Follow the timing on your specific paint, because brands differ.
After that, wash the piece gently and on its own the first time. A well-set print on cotton or linen softens slightly with washing and settles into the cloth, which most people end up liking more than the crisp day-one version.
Where beginners go wrong (and the easy fixes)
Skipping the test print. Every new block, ink, or fabric behaves a little differently. Thirty seconds on scrap saves a ruined pillowcase.
Printing on a hard table. A thin layer of padding under the cloth lets the block meet every fibre. A folded towel transforms patchy prints into clean ones, just like that.
Choosing crinkly fabric. Seersucker, heavy slub weaves, and stretchy knits all fight the block. Smooth, flat, stable cloth is your friend until your hands know the craft.
Designing too small. If you need a magnifier to carve it, it’s too small. Go bold. Detail can come with your third block.
Frequently Asked Questions
What is the best fabric for a first block print?
Smooth, tightly woven cotton or linen in a light colour. Both take ink evenly, show mistakes honestly so you learn faster, and stay flat under the block. Avoid stretchy knits and heavily textured weaves until you’ve printed a few pieces.
Can you block print with regular acrylic paint?
You can print with it, but it dries stiff on fabric and may crack or fade in the wash. Fabric paint, or acrylic mixed with a fabric medium, stays flexible and can be heat-set so the print lasts. For anything you plan to wash, fabric paint is the safer choice.
Why does my print look pale or patchy?
Usually one of three things: too little ink on the block, uneven pressure, or a hard surface under the fabric. Add a folded towel as padding, roll a slightly heavier coat of ink, and press firmly across the whole block before lifting straight up.
Do you have to carve the design backwards?
The print is a mirror image of the block, so anything with letters, numbers, or a clear direction must be carved in reverse. Symmetrical motifs — leaves, flowers, dots, simple animals — look the same either way, which is one more reason they’re perfect first designs.
How do you make block prints washable?
Let the print dry completely, then heat-set it with an iron according to the paint maker’s instructions, usually with a protective cloth over the print. After heat-setting, wash gently. The print will soften a little with washing and settle into the fibres.
Start with one block and one colour, on cloth you aren’t precious about. By the second tea towel, your pressure will even out, your ink coat will thin to just right, and the repeats will land where you aim them. That’s not talent arriving. That’s the craft doing what it has always done — teaching through the hands, one print at a time.
This article was created with AI assistance and reviewed by our editorial team before publishing.