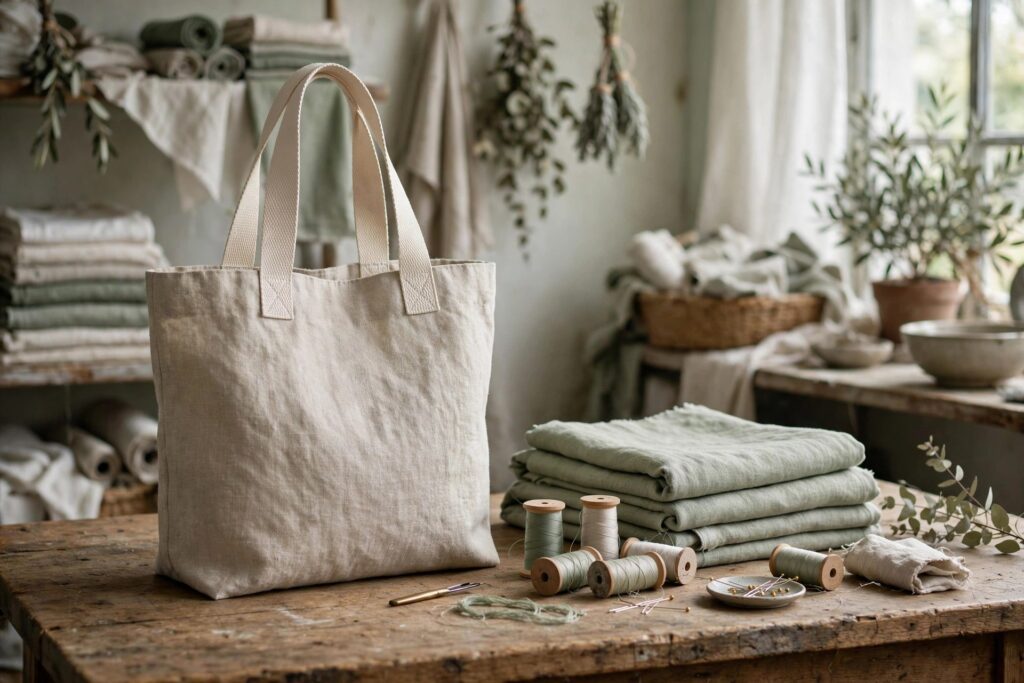
A sturdy linen tote takes about two hours and one yard of fabric. You’ll cut two rectangles, stitch the sides, box the corners for a flat base, and finish with cotton webbing handles. No lining, no zipper, no pattern to buy — just straight seams you’re likely to get right the first time.
Why a tote bag makes a good first project
Straight seams. Forgiving fabric. A finished thing you’ll actually use every week — that’s the whole pitch.
A tote asks for no curves, no buttonholes, and no fussy closures, so your attention can go where it belongs: keeping a seam allowance steady and pressing as you go. Linen helps, too. It doesn’t slip around under the presser foot the way silk or satin does, and it holds a crease when you iron it, which makes every fold easier to sew accurately.
Cut it generously and the same construction becomes a market bag, a library tote, or a project bag for yarn and works in progress. One pattern, many lives. And because the pieces are plain rectangles, a mistake costs you a seam ripper and five minutes, not a ruined yard of fabric.
What you’ll need
You don’t need much, and most of it is probably already in your sewing basket:
- 1 yard (about 90 cm) of medium-weight linen, 44–58 inches wide — look for the craft-weight or apparel-weight bolts, the ones that drape softly but don’t feel papery
- 2 yards of cotton webbing, 1½ inches wide, for the handles
- Thread in a matching color, or a deliberate contrast if you’d rather the stitching show
- A fresh size 90/14 universal needle — linen’s weave is open, and a sharp needle keeps skipped stitches away
- Pins or fabric clips, a long ruler, tailor’s chalk, sharp scissors, and an iron
Wash and dry the linen before you cut anything, in the same way you’ll wash the finished bag. Linen relaxes in its first wash, and you want that settling to happen now, not after the seams are in.
Cut the pieces
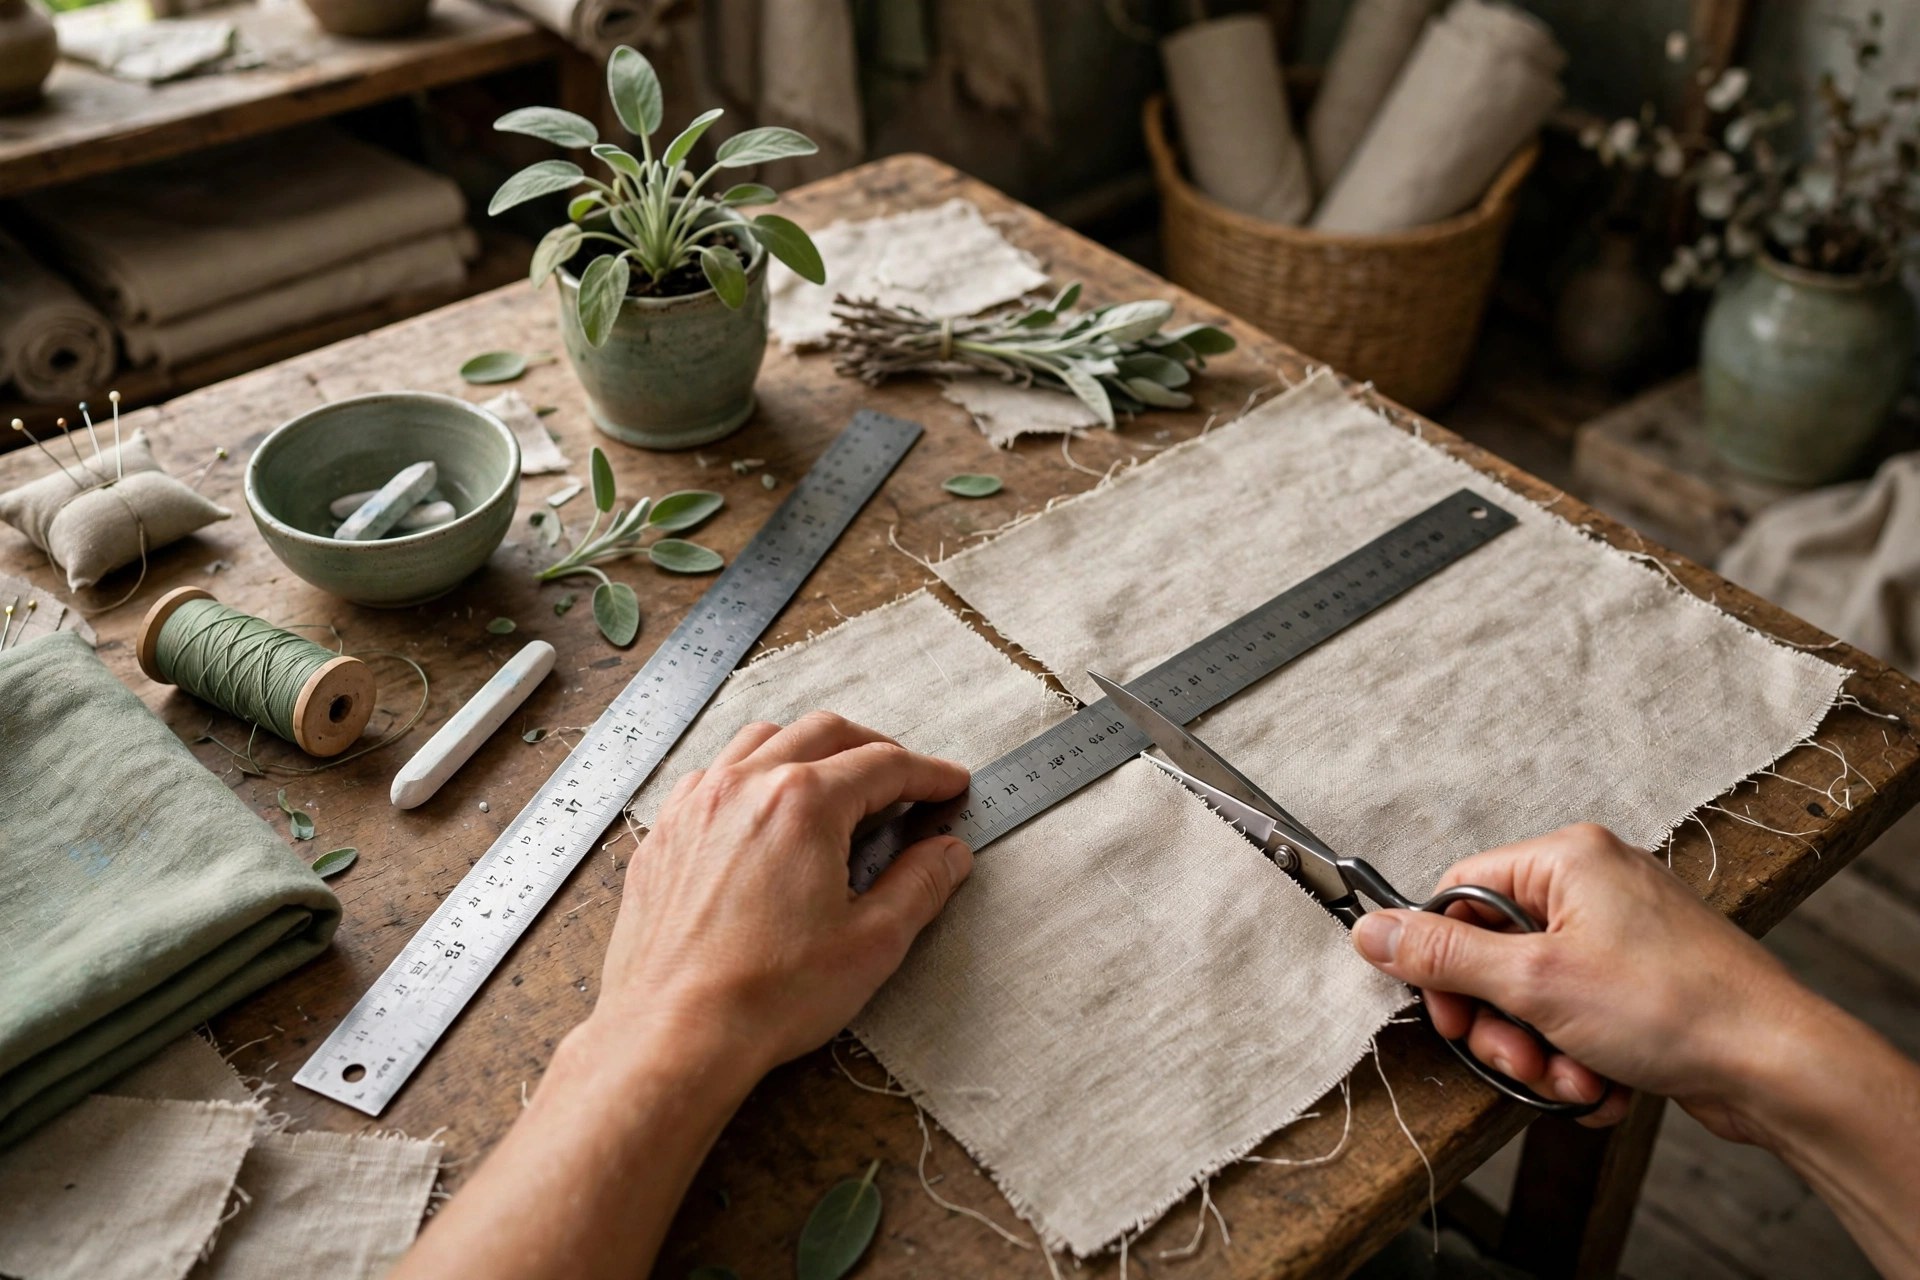
Work on the largest flat surface you’ve got. A dining table beats the floor for accuracy every time. Press the linen first, too; cutting wrinkled fabric is how rectangles quietly become trapezoids.
Cut two rectangles, each 18 inches wide by 20 inches tall. If your fabric has a directional print or a strong weave direction, make sure both pieces run the same way up. That’s the whole body. No pattern pieces, no curves, nothing to trace and nothing to pin through tissue paper.
Cut the webbing into two equal lengths of 26 inches each for shoulder-length handles. Prefer to carry the bag in your hand? Cut them at 18 inches instead. If your webbing is synthetic and the cut ends look frayed, pass them quickly near — never on — a lighter flame to seal them. Cotton webbing needs no sealing; the top fold hides its ends.
Sew the bag body
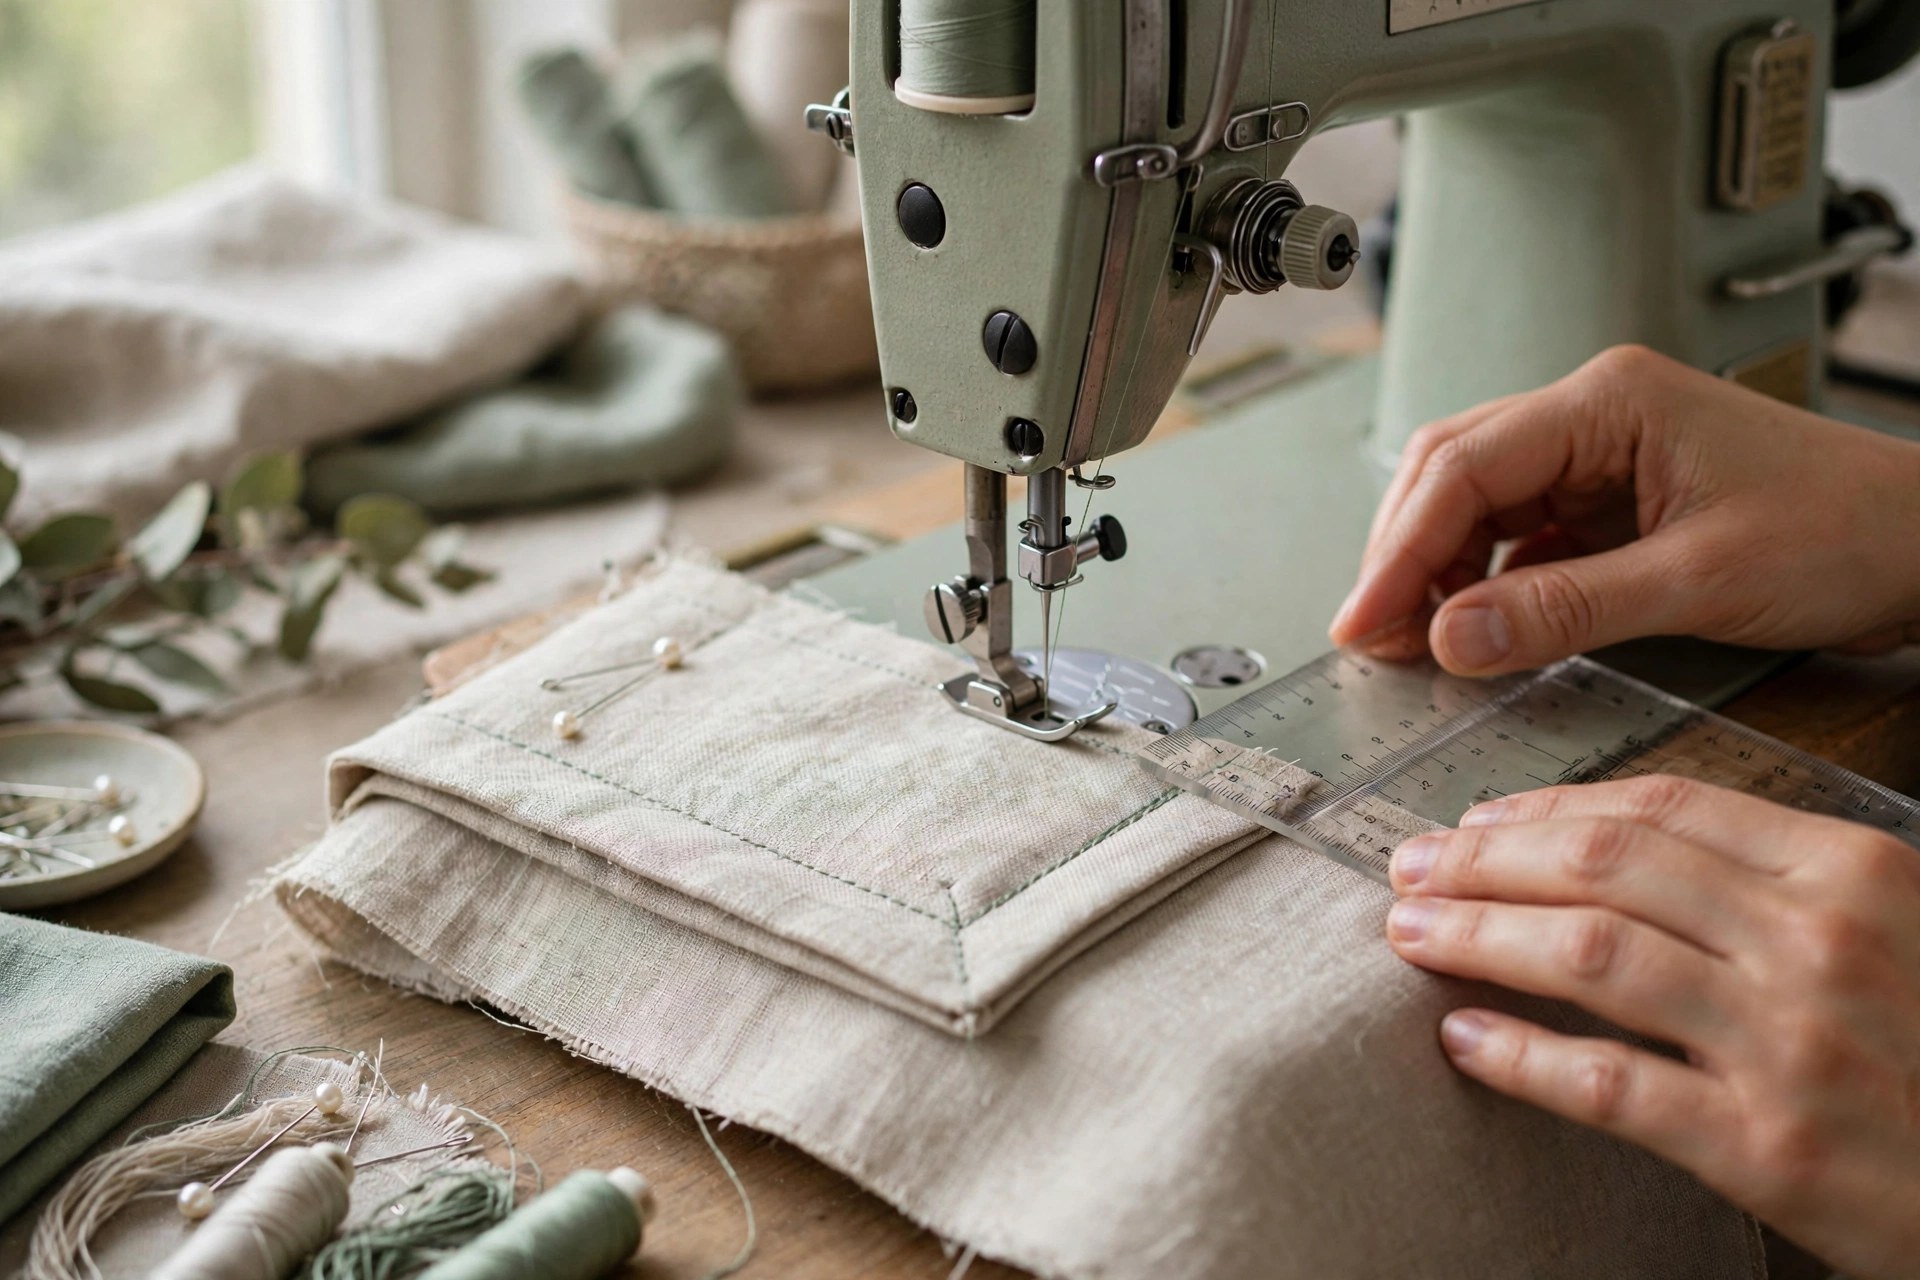
Place the two rectangles right sides together and pin along both side edges and the bottom edge, leaving the top open. Sew the three sides with a ½-inch seam allowance and a stitch length of about 2.5 mm. Backstitch at the start and end of every seam; two or three stitches in reverse is plenty.
Go slowly at the bottom corners. When the needle reaches a point ½ inch from the bottom edge, stop with the needle down, lift the presser foot, pivot the fabric a quarter turn, lower the foot, and keep sewing. That one pivot is the whole trick behind a square corner.
Finish the raw edges so they don’t fray in the wash. A zigzag stitch run down each seam allowance does the job; a serger does it in one faster pass if you’ve got one. Then press. Press the seams open, or press them all to one side — linen takes a crease beautifully, so the ten seconds with the iron is never wasted.
Box the corners for a flat bottom
Here’s where the bag gets its shape. Keep it inside out and pick up one bottom corner. Flatten the corner so the side seam sits directly on top of the bottom seam, forming a neat pointed triangle. The two seams should stack in one straight line down the middle of that triangle — coax them into place with your fingers before you pin.
Measure 2 inches down from the point of the triangle and draw a line straight across, square to the seam. Pin through both layers so nothing shifts. Sew along the line, backstitch at both ends, then trim the little triangle away ½ inch beyond your stitching. Repeat on the other corner, measuring the same 2 inches so both sides match.
Turn the bag right side out and nudge the corners into shape with a chopstick or the blunt end of a pencil. You’ll have a base roughly 4 inches deep, and the bag will stand up on its own. Handy at the market. Handier on your worktable.
Make and attach the handles
Fold the top edge of the bag ½ inch to the wrong side and press. Fold it down one more inch and press again. This double fold hides the raw edge completely and gives the handles something solid to anchor into. Don’t sew it down yet.
Now position the handles. On the front panel, measure 4 inches in from each side seam and mark both spots with chalk. Tuck one end of a webbing strap under the folded top edge at each mark, about an inch deep, so the strap rises in a loop above the bag. Pin generously. Webbing likes to wander while you sew, and extra pins are cheaper than unpicking.
Repeat on the back panel with the second strap, matching the 4-inch marks exactly. Hold the bag up by both loops before you sew — if one handle hangs crooked, this is the moment you’ll be glad you checked.
Stitch the top edge and reinforce the straps
Sew all the way around the top edge, about ⅛ inch up from the lower fold, catching the strap ends as you go. Then sew a second row of stitching close to the top edge itself. Two rows look tidy, and they share the load between them.
For real strength, sew a small square with an X inside it where each strap end sits. Stitch down one side of the strap, across the bottom, up the other side, then corner to corner twice to form the X. It takes maybe a minute per strap end. That boxed X carries every heavy book and bottle you’ll load into this bag, so don’t skip it.
Ways to make it yours
Once the plain version is done, the pattern bends easily. Sew a patch pocket onto one panel before you join the sides: a 7-by-8-inch square, top edge hemmed, the other three sides stitched down. It swallows a phone and a shopping list without a murmur.
Prefer a softer look? Swap the webbing for straps cut from the same linen. Cut two strips 3 inches wide and as long as you need, fold each one in thirds lengthwise, press hard, and topstitch both edges. Or reach for a striped linen and let the fabric do all the decorating by itself. The construction never changes. Only the surface does.

Frequently asked questions
What weight of linen should I buy?
Medium-weight linen is the sweet spot here. Hold a single layer up to a window: if harsh light pours straight through, it’s too sheer for a bag that will carry jars and books. The fabric should feel substantial in your hand yet still fold without a fight. Ordering online? Look for words like craft, apparel, or tote weight in the description, and steer clear of anything sold as handkerchief or shirting weight.
Can I sew this tote entirely by hand?
Yes, you can. Use a backstitch for every seam and keep the stitches small — aim for six to eight per inch so the seams hold up under weight. The boxed corners and the strap squares work exactly the same way by hand. Set aside an afternoon instead of two hours, and wear a thimble. Linen pushes back against the needle more than cotton does.
Does the bag need a lining?
No. The double-folded top edge and the finished seam allowances keep the inside tidy all on their own. A lining does add polish, and it hides the seam allowances completely, but it also adds a second bag’s worth of cutting and sewing to the project. Make the unlined version first. You can always line the next one if the idea still appeals.
My boxed corners came out uneven. What went wrong?
Almost always, it’s the measuring. That 2-inch line has to be measured from the point of the flattened triangle, with the side seam and bottom seam stacked exactly on top of each other. If the seams drift apart inside the triangle, one corner ends up deeper than the other. Unpick the shallower corner, re-flatten it, measure again, and restitch — five minutes, fixed.
How do I wash the finished bag?
Wash it the way you pre-washed the fabric: a cool or warm machine cycle, then line dry it or tumble it on low. Linen softens a little with every wash and the creases relax, which is honestly part of its charm. If you want the bag crisp again, press it while it’s still slightly damp.
This article was created with AI assistance and reviewed by our editorial team before publishing.