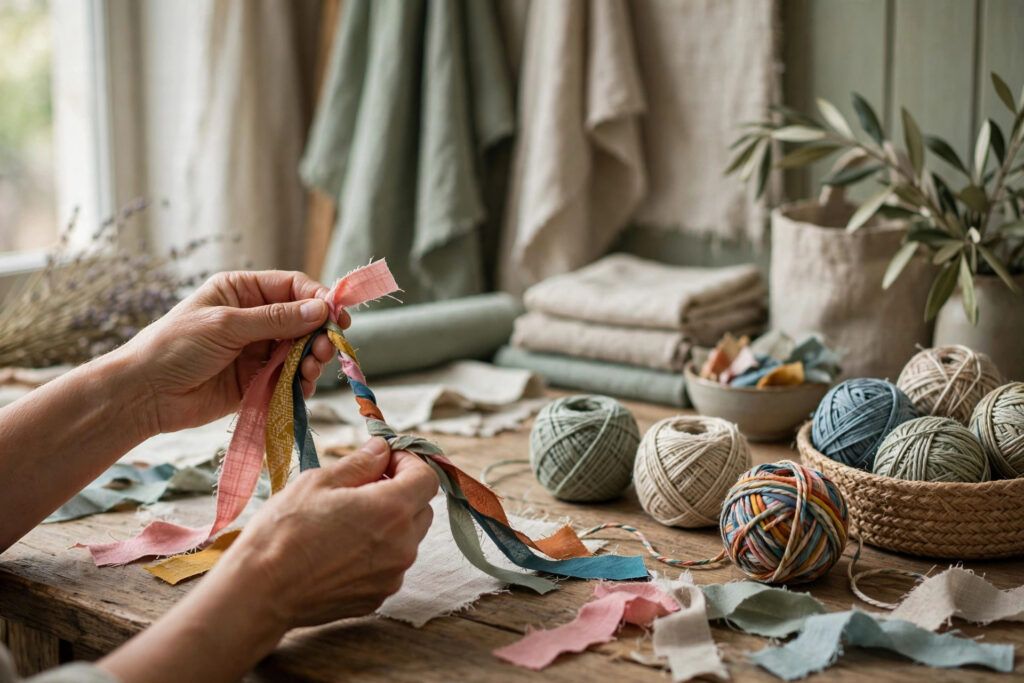
Fabric twine turns the scrap bin — torn sheets, worn shirts, the last half-metre of a print you loved — into a strong, flexible cord you can coil, weave, or stitch into baskets, rugs, and trivets. You cut fabric into strips, twist two strips together so they lock, and keep joining as you go. One worn bedsheet makes a surprisingly long ball of twine.
Which scraps make good twine
Start with woven cotton if you’ve got it. Old sheets, quilting cotton, and light denim twist evenly and hold their twist without much fuss.
Knits work too, but they behave differently. T-shirt jersey curls into itself as you cut, which actually helps — the strips roll into soft tubes that make plump, forgiving twine. What you want to avoid for a first try is anything slippery. Satin and lining fabrics slide instead of gripping, and the twist relaxes the second you let go.
Mixing fabrics in one ball is fine, even pretty. Just keep the strip widths similar, or the twine gets lumpy where a chunky denim strip meets a thin cotton one. Lumps aren’t failure, mind you. They read as texture in a basket. They only cause trouble when you planned to sew with the twine on a machine.
Cutting strips that don’t fight you
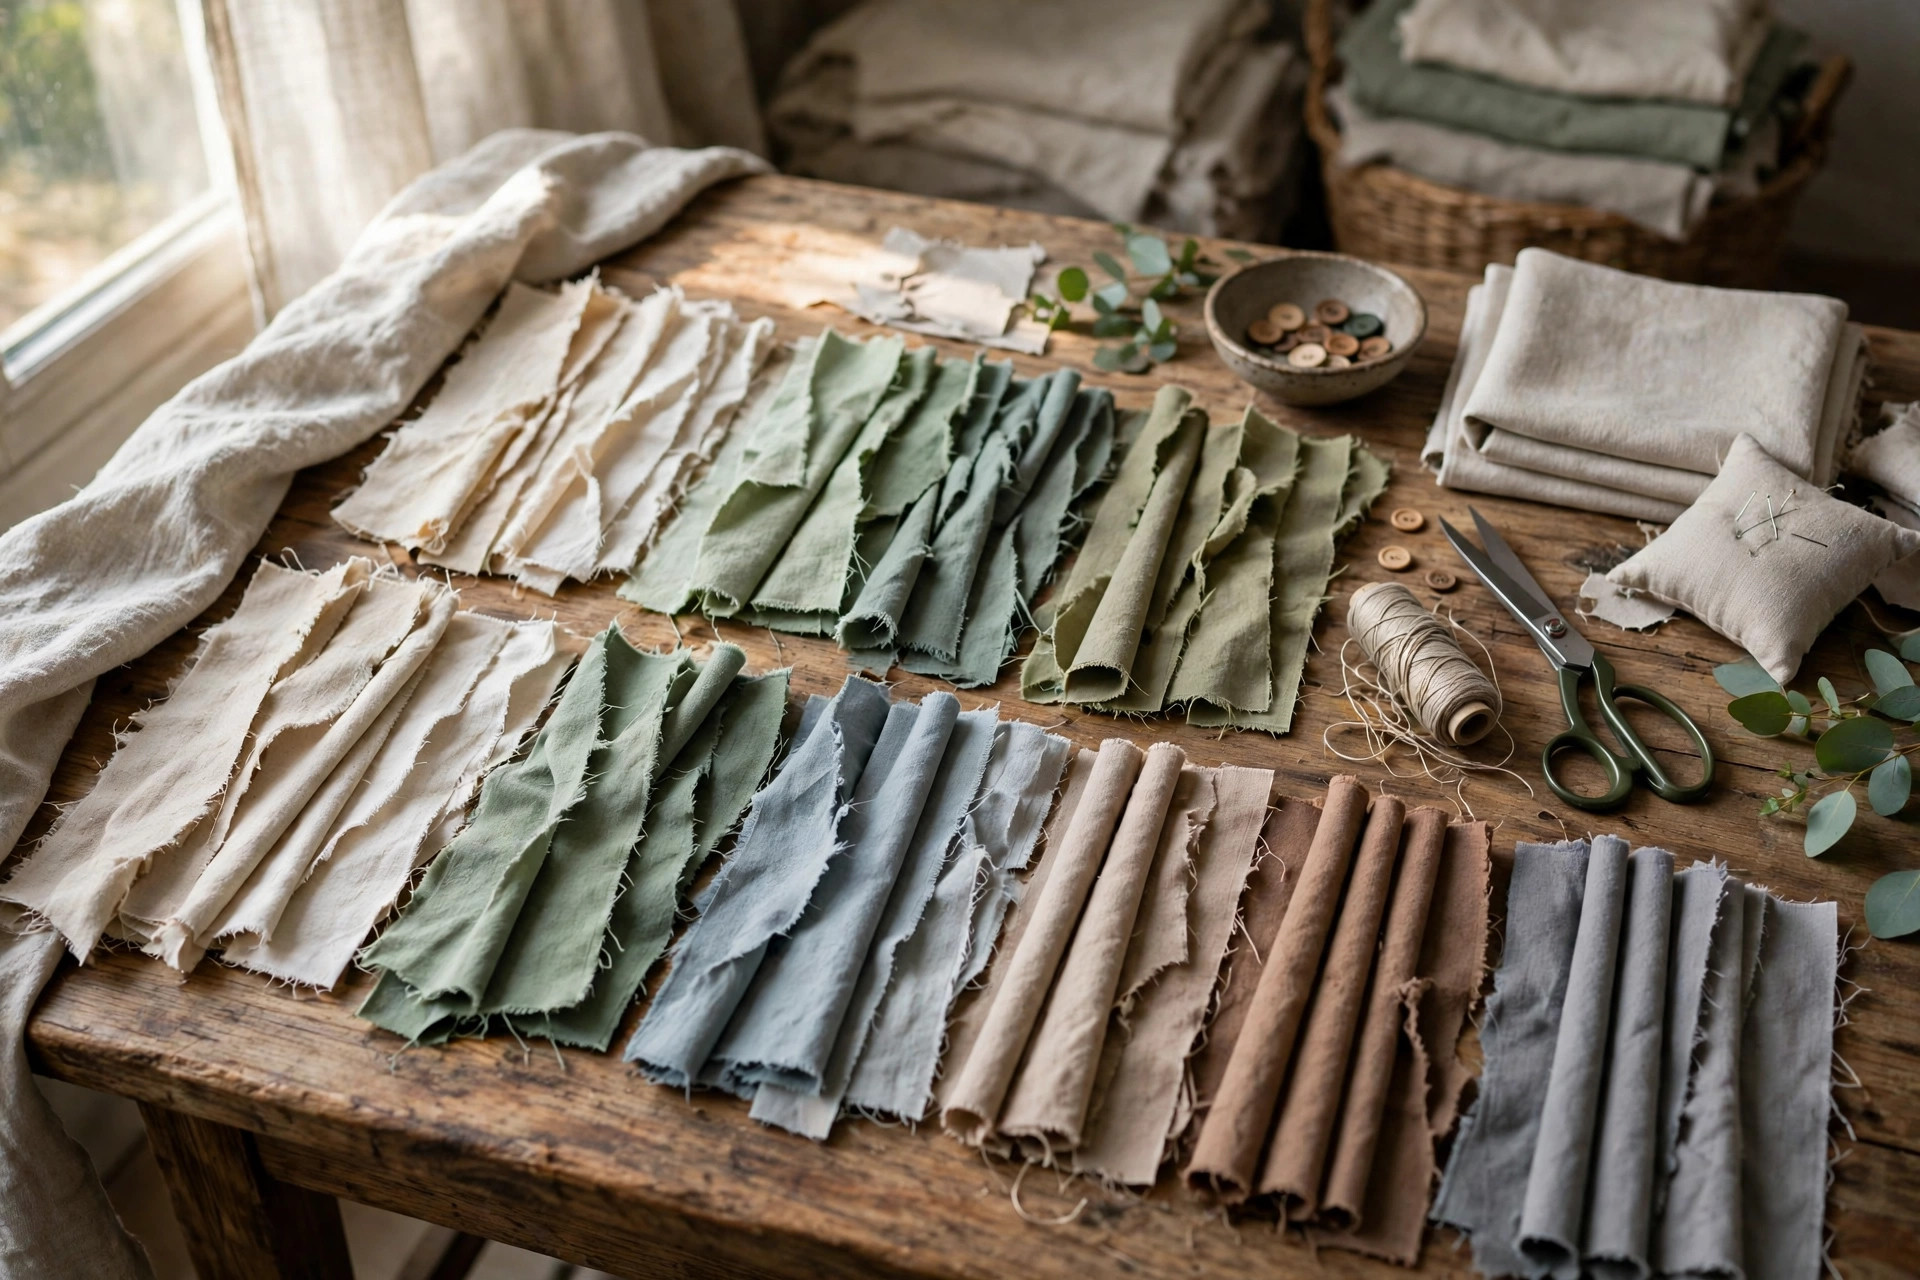
Tear woven fabric when you can. Snip a small notch at the edge, then tear along the grain — the fabric rips in a straight line all on its own, faster and straighter than most of us can cut. The torn edge frays a little, and that’s good. Those loose fibres grip each other in the twist.
Aim for strips about 2 to 3 centimetres wide for general-purpose twine. Narrower strips make finer cord for stitching. Wider strips make chunky twine for rugs, but your hands will feel it — twisting wide denim is a workout.
Cut knit fabrics with scissors or a rotary cutter instead, across the width of the shirt, so the strips stretch and curl along their length. And don’t iron anything. Creases and wrinkles disappear the moment the twist closes over them.
Twine is the scrap bin’s second chance — the fabric was never waste, it was just waiting for a twist.
The twist itself
Here’s the whole technique, and it fits in one paragraph. Take two strips. Hold them together at one end and anchor that end — under a heavy book, clipped to a board, or tied to a chair back. Twist one strip away from you until it feels tight and starts to kink. Then pass it over the other strip. Now twist the new strip the same way, and pass it over. Repeat.
That’s it. Twist, pass, twist, pass. Each strip gets twisted in the same direction, and the passing-over locks the two twists against each other. Let go to test it: good twine stays put. If yours springs open, the individual twists weren’t tight enough before you crossed them.
Work in a rhythm and keep the tension even. Most beginners twist hard for a minute, then loosen up as their attention wanders, and the ball tells the story — tight, neat twine at the core, sloppy twine on the outside. Slow is smoother than fast here.
Joining strips and finishing a ball
When a strip runs short, don’t tie a knot. Overlap the end of a new strip with the tail of the old one by about 10 centimetres, and twist them together as if they were one strip. The join disappears into the cord, with no hard lump to catch later.
Stagger your joins. If both strips end at the same spot, that section gets weak and bulky at once. When one strip is getting short, join early, so the two joins sit a hand’s width apart.
Wind the finished twine into a ball as you go, the way you’d wind yarn. When you stop for the day, tuck the working ends under a few wraps so the twist can’t relax overnight. A finished ball keeps indefinitely — no moth drama, no special storage, just a shelf.
Lumps, breaks, and other small dramas
A strip snaps now and then. Old fabric has weak spots, and the twist finds them. Don’t stop and don’t unpick — just overlap a fresh strip across the break, twist on, and the cord swallows the repair whole.
Thickness drift is the other common gripe. Your twine starts slim, then quietly fattens as wider strips sneak in. Check every few minutes by wrapping the twine around two fingers: if the loop feels thicker than the last one, trim the next strip narrower. Small corrections, made often, keep a whole ball even.
And if a section really bothers you? Cut it out and rejoin. Twine forgives edits in a way knitting never does.
What to make with your first ball
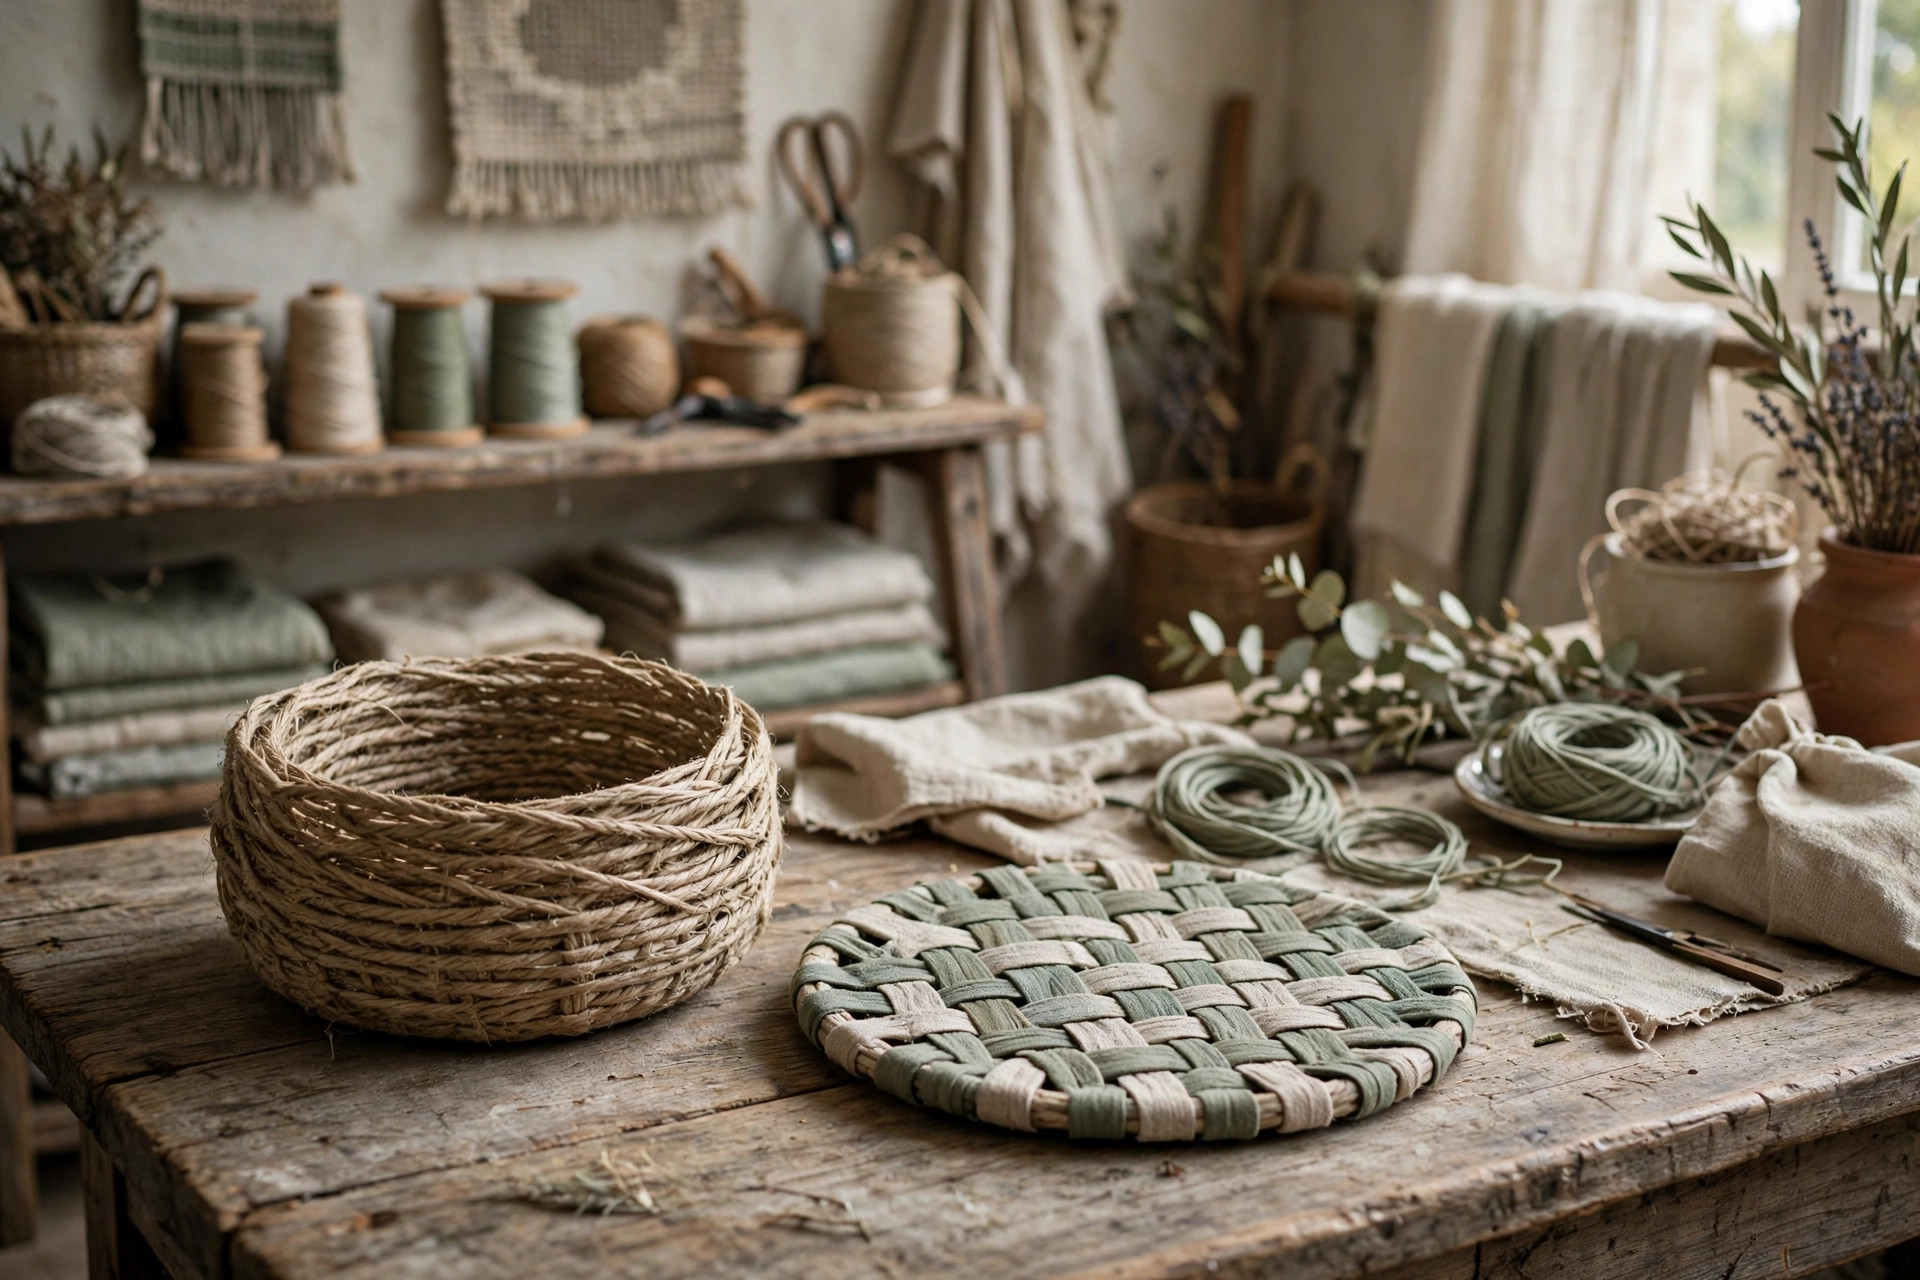
Coiled baskets are the forgiving first project. You wrap twine in a spiral and stitch each new round to the one before it with a needle and strong thread. Small wobbles just look handmade, because they are.
Trivets are even simpler — same spiral, kept flat. Mats and rugs ask for more twine than you’d guess, so save them for your second or third worn-out sheet. Twine also works as gift wrap cord, plant ties, and the string on a parcel that makes the whole parcel look deliberate. Keep a small ball in a kitchen drawer, too — you’ll reach for it more often than you expect, for tying herb bundles, closing a bag of coffee, or rescuing a hoodie that lost its drawstring in the wash.
Questions people ask before twisting their first ball
How long does one sheet’s worth of twine take to make?
Plan on an evening, not a weekend. Cutting goes fast, especially if you tear the strips, and the twisting settles into a rhythm you can keep up while a film plays. Most people finish a sheet-sized ball in two to three relaxed sessions.
Can I wash things made from fabric twine?
Yes, if the original fabric could be washed. A coiled basket from cotton twine handles a gentle machine wash and air-drying well. Reshape it while it’s damp and let it dry flat so the base stays even.
My twine keeps untwisting. What am I doing wrong?
Almost always, the strips need more twist before you cross them. Twist each strip until it just starts to double back on itself, then pass it over. Also check your direction — every strip twists the same way, every time. One reversed strip unwinds its neighbour.
This article was created with AI assistance and reviewed by our editorial team before publishing.