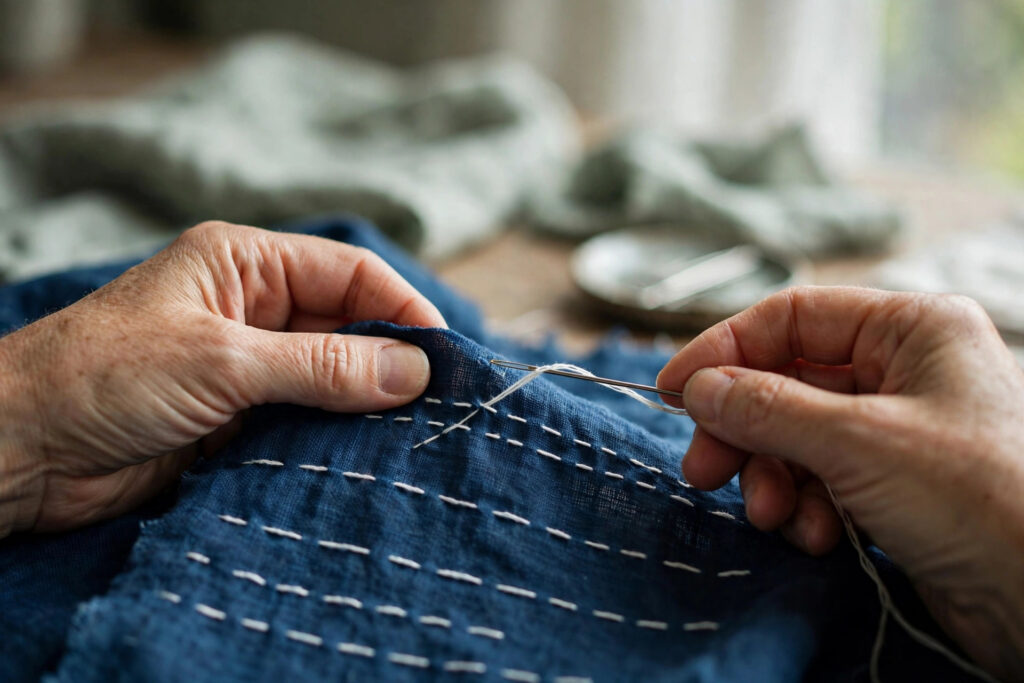
Sashiko visible mending is the Japanese art of repairing worn clothing with deliberate, decorative stitching. Instead of hiding a tear, you make it the most interesting part of the garment. This guide covers the materials you need and three beginner-friendly stitches — the basic running stitch, a simple hitomezashi-style grid, and a decorative motif — plus a walkthrough for mending a knee or elbow.
That pair of jeans with the blown-out knee doesn’t need to go in the donate bag. In Japanese mending tradition, a repair is not a flaw to conceal — it is an addition, a new layer of the garment’s story. Sashiko visible mending takes that philosophy and gives it a structure: white cotton thread, a long needle, and running stitches laid in rows and patterns that both reinforce the fabric and turn the damaged spot into a focal point.
Sashiko began in rural Japan as practical needlework — farmers and fishermen stitching layers of cloth together for warmth and durability, since fabric was precious and nothing was wasted. Over generations the functional rows evolved into patterned embroidery, and today sashiko-style visible mending has become the backbone of the modern “repair, don’t replace” wardrobe movement.
What Visible Mending Actually Is
Visible mending is exactly what it sounds like: repairing clothes in a way that draws the eye rather than deflecting it. Where traditional tailoring hides its stitches, visible mending celebrates them. Contrasting thread, exposed patches, and decorative stitch patterns turn damage into design.
Sashiko fits this perfectly because it was always about reinforcing cloth, not embellishing it — the decoration grew out of the function. A knee repaired with parallel rows of running stitch is genuinely stronger than it was before. The fact that it also looks beautiful is not an accident; it is the whole point.
The Materials: What You Need (and What You Don’t)
You don’t need a full embroidery kit. Sashiko was a poor person’s craft, and the materials reflect that.
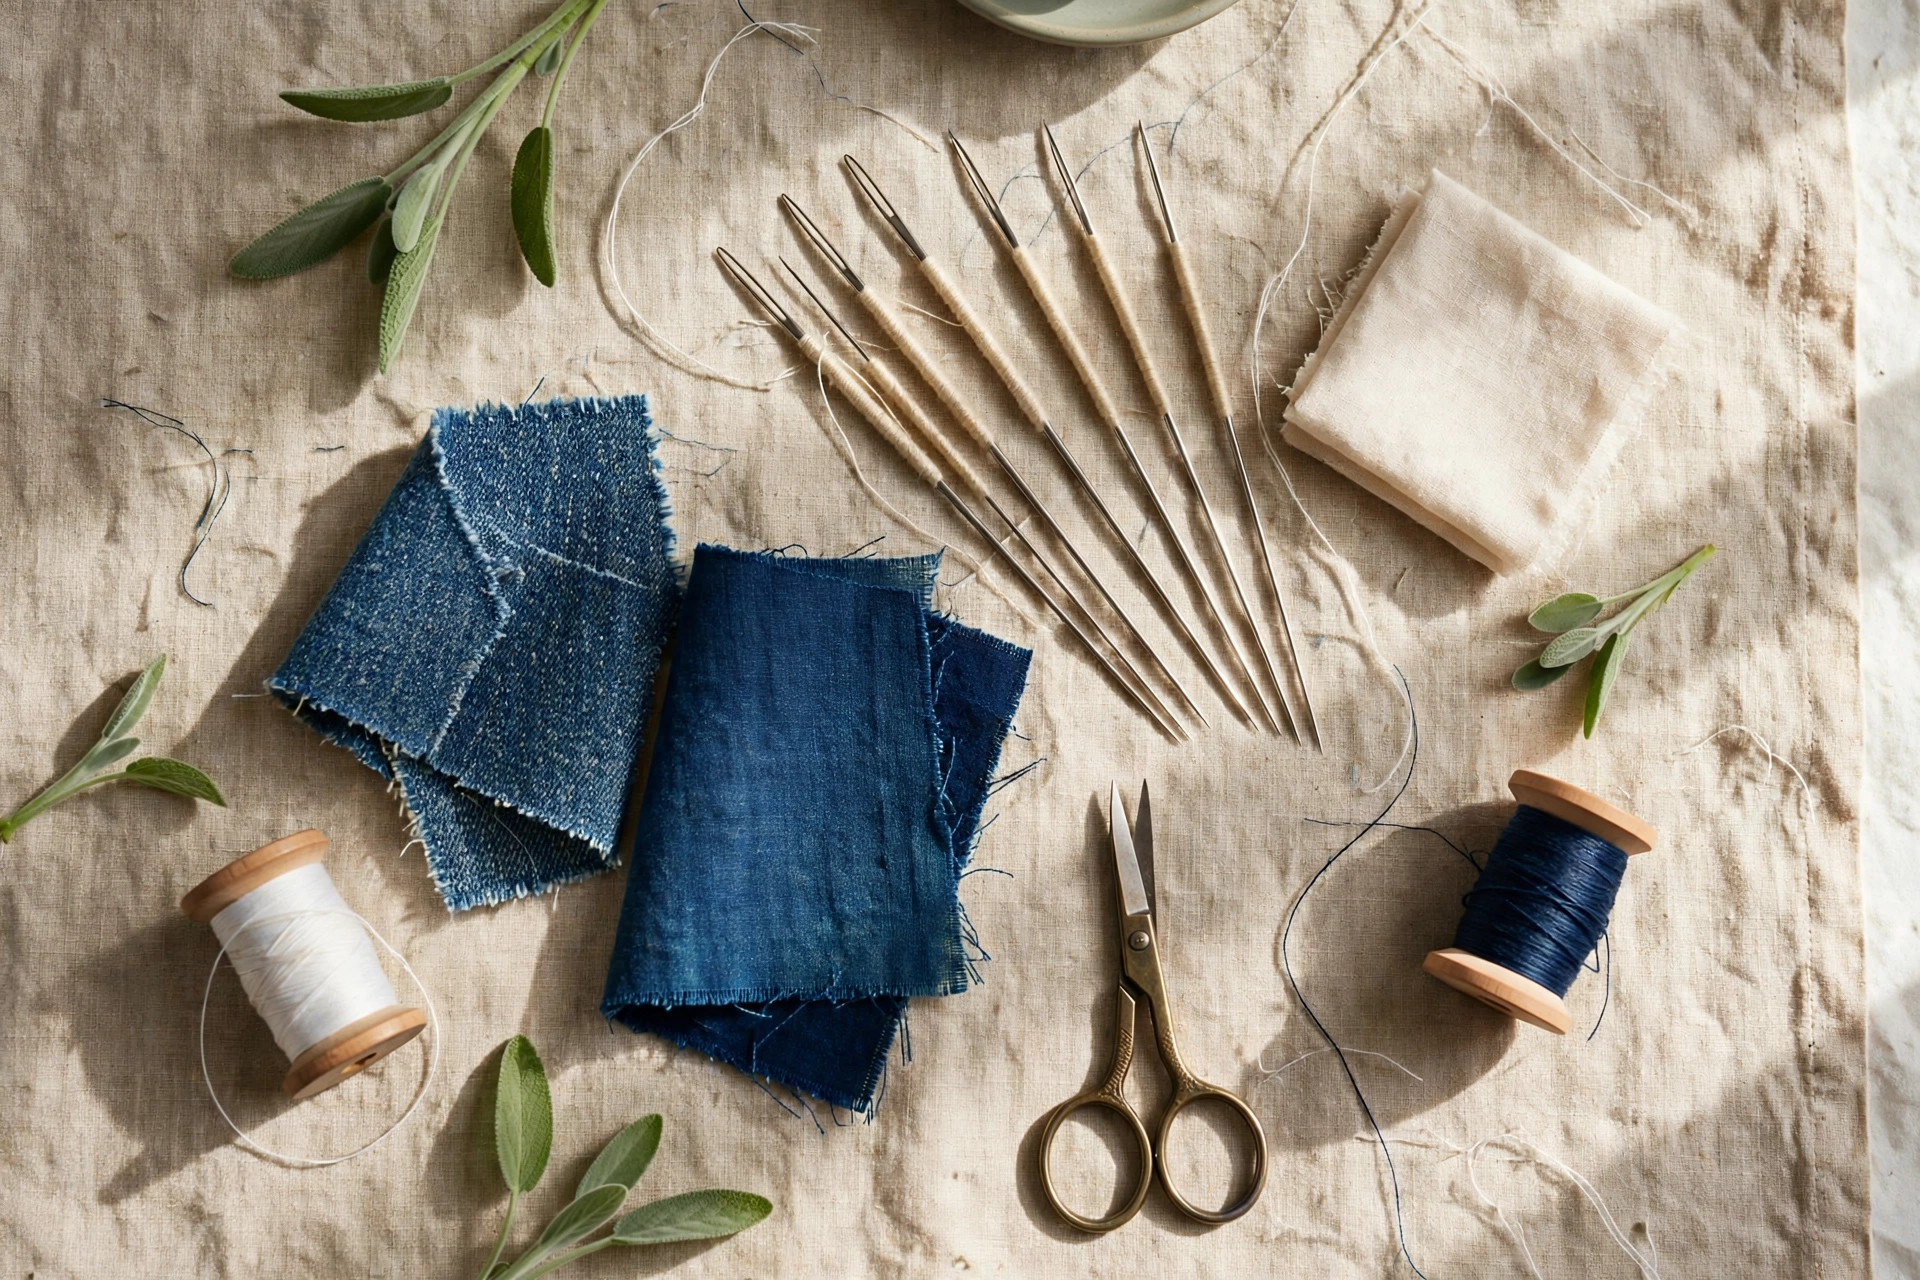
Sashiko thread. Real sashiko thread is 100% cotton, thicker than embroidery floss, with a matte finish and a heavier twist. It is made of fine plies twisted into a single, non-divisible thread — you stitch with the full piece, never split it (per sashiko craft references such as embroidery.rocksea.org). The classic pairing is white thread on indigo fabric, though modern makers use every color. If you don’t have sashiko thread, size 8 perle cotton is the most commonly recommended substitute, or four strands of embroidery floss.
A long needle. Sashiko needles are notably longer than standard embroidery needles — around two inches — with a small eye and sharp tip, so you can load several stitches onto the needle at once, like beads. Avoid short needles; the work goes slowly and your fingers will protest.
Fabric for patching. For mending, you need a patch that sits behind or over the damage. Medium-weight cotton — denim, chambray, canvas — is the easiest to work with. Pick a patch at least 2–3 centimeters larger than the damaged area on every side, so the stitching has room to anchor into strong fabric.
Marking tools and a ruler. Sashiko patterns live or die on straight lines. A washable fabric marker and a clear ruler are non-negotiable for grid patterns.
Optional: a thimble. Traditional sashiko uses a palm thimble that sits where the middle finger meets the palm, pushing the long needle with the whole hand. A regular finger thimble works fine for beginners.
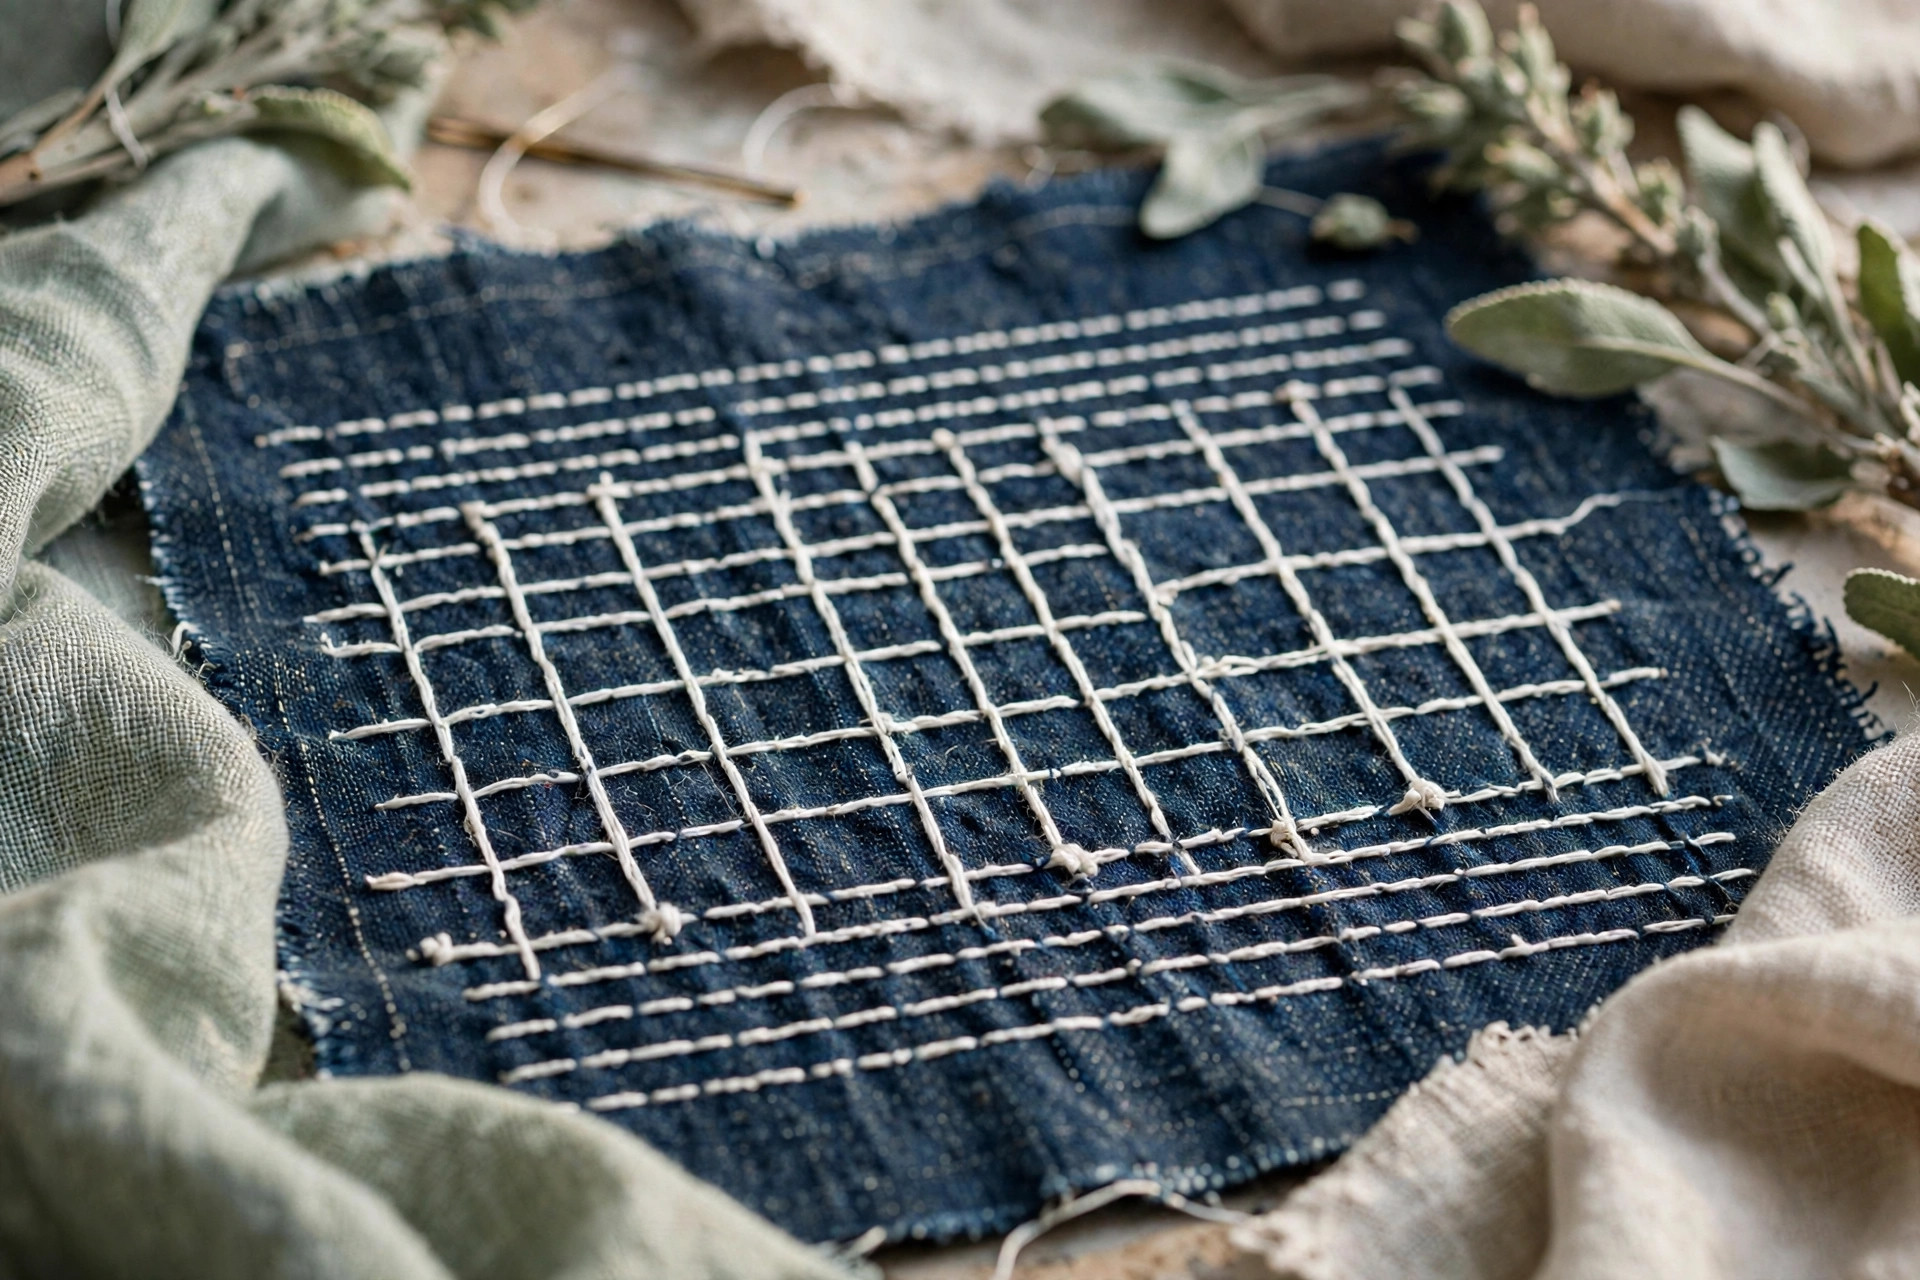
Stitch 1: The Basic Running Stitch
Everything in sashiko is a running stitch. If you can sew a line of dashes, you can do this. The skill is in the rhythm: even spacing, consistent tension, and the classic proportion of thread to gap.
1. Thread your needle and knot the end (or leave a small tail and stitch over it on later rows).
2. Bring the needle up through the fabric at your starting point.
3. Slide the needle forward through the fabric and back up, catching a small “bite” of fabric each time. Load three or four stitches onto the needle before pulling through.
4. Keep the stitches on the front of the fabric longer than the gaps between them. The traditional ratio is roughly 3:2 — stitch to gap — which gives sashiko its distinctive dashed-line look.
5. Pull the thread through with light, even tension. If the fabric puckers, you’re pulling too tight. Loosen up and let the thread lie on the surface.
Practice rows of straight running stitch on a scrap first. Uniformity matters more than speed: uneven stitches show immediately in a grid, while small wobbles disappear inside an overall pattern.
Stitch 2: A Simple Hitomezashi-Style Grid
Hitomezashi (“one-stitch sashiko”) builds dense, textured patterns from single running stitches crossing a marked grid. It’s mesmerizing up close and simple to execute.
1. Mark a grid of straight lines on the fabric, spaced evenly — about 1 cm apart is a forgiving size for beginners.
2. Stitch one horizontal row of running stitch along each marked line, end to end.
3. Come back across with a second pass, stitching the “gaps” left by the first pass. The stitches from the two passes alternate, creating a continuous woven-looking line.
4. Repeat for every row until the grid is filled.
The magic of hitomezashi is that simple offset rows read as intricate geometry. It is also structurally ideal for mending: the dense stitching locks a patch down completely and adds a layer of reinforcement across the whole damaged area.
Stitch 3: A Decorative Seigaiha (Wave) Motif
Seigaiha — overlapping arcs like ocean waves — is one of the most recognized sashiko motifs, and it adapts beautifully to visible mending on knees, elbows, and jacket panels.
1. Using a compass or a small cup, mark overlapping semicircle arcs across the patch area in rows, like fish scales.
2. Starting at one edge, follow one arc with running stitch, keeping the stitch-to-gap ratio even.
3. Stitch each arc in the same direction so the thread lies consistently.
4. Where arcs overlap, let the stitches cross naturally — the intersections are part of the charm.
A seigaiha patch over a knee tear reads as intentional design from across the room. It also distributes reinforcement stitches across a wide area instead of concentrating them at the rip.
Mending a Knee or Elbow: The Walkthrough
Knees and elbows fail because the fabric flexes thousands of times. A visible mend there needs to be both pretty and genuinely strong. Here’s the process.
Assess the damage. A clean tear with intact surrounding fabric is the easiest case. Frayed, thinning fabric — the kind that pills and looks like tissue paper — needs a patch behind it rather than stitches alone, because stitching into weakened cloth just moves the tear.
Cut the patch. Cut patch fabric at least 2–3 cm larger than the damage on all sides. Round the corners slightly; square corners tend to peek out at the edges.
Position and baste. Place the patch behind the garment with the right sides aligned. Baste it in place with large temporary stitches or pins so nothing shifts while you work.
Stitch the grid. Mark your pattern — parallel rows, a hitomezashi grid, or seigaiha arcs — covering the patch and extending into the undamaged fabric around it. The stitches must anchor into strong cloth, not just the patch edges, or the repair will fail at the boundary.
Finish the ends. Take the needle to the back of the work, weave the thread through a few existing stitches, and trim. No knots are needed if the weave is tight.
Caring for Mended Garments
Sashiko thread is cotton, and cotton shrinks slightly and softens with washing. That is fine — it settles into the fabric and the mend becomes more durable, not less.
- Wash mended garments inside out in cool water to reduce abrasion on the stitching.
- Skip the tumble dryer for heavily stitched repairs; line drying avoids stress on the patch edges.
- Press from the back side with a medium iron to flatten stitches after washing.
- If a thread end works loose, catch it with a few backstitches and trim — repairs are maintainable by design.
Over time, the white thread takes on the slight patina of the garment. That is not wear — it is the mend aging into the piece, which is exactly how it should be.
Frequently Asked Questions
Do I need real sashiko thread, or can I use embroidery floss?
You can start with what you have. Real sashiko thread — 100% cotton, non-divisible, matte — gives the classic look and handles better in long stitches, but size 8 perle cotton or four strands of embroidery floss are widely recommended substitutes for beginners.
How long should the stitches be?
The traditional guideline is a roughly 3:2 ratio of stitch to gap on the fabric’s front — the stitch visibly longer than the space between stitches. Keep the size consistent rather than worrying about exact millimetres.
Will visible mending hold up on jeans knees?
Yes, if the stitches anchor into strong fabric around the damage and a patch supports thinning areas. Dense patterns like hitomezashi grids reinforce the area structurally, not just decoratively.
Can I do sashiko visible mending by machine?
A sewing machine can make reinforcing rows, but it can’t replicate the hand running stitch’s texture, rhythm, and slightly irregular beauty. The hand-stitched look is the whole aesthetic — this is a hand craft.
How do I keep my stitch lines straight?
Mark them. A washable fabric marker and ruler are essential for grid patterns; freehand rows are fine for organic motifs. Also, a longer needle lets you load several stitches at once, which naturally evens out the line.
This article was created with AI assistance and reviewed by our editorial team before publishing.